
Hello Sweet Stamp Shop fans! Today marks another day of sweet stamping. Today I wanted to show you a little card that is all about embossing... On black card stock. thanks for joining me as I share some tips and tricks I learned along the way. Let's get started!
Here is my card:

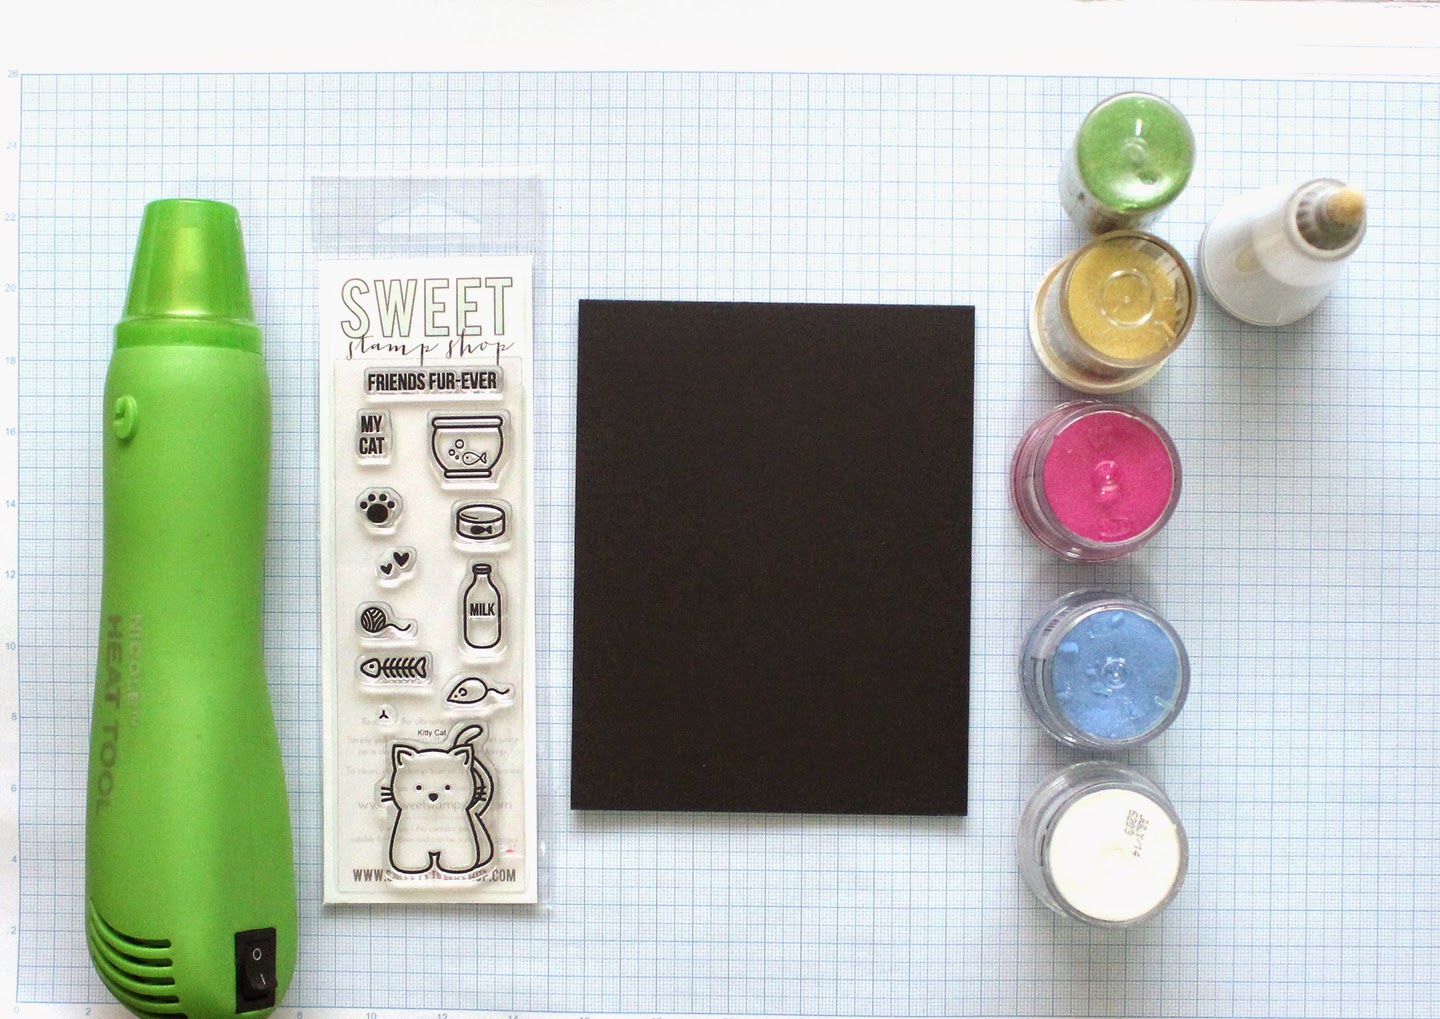
My opinion on embossing and my first tip for you is to prep yourself! Embossing can move fast and it's always helpful to have your supplies at hand. I chose this sweet stamp set Kitty and dug through my collection of embossing powders to choose a few I liked. When I have a lot of colors to choose I like to do a varied "rainbow". As in, one color in the red family one in the blue family etc. This isn't necessary, especially if you want a more specific color palette, but it's usually a pretty good rule of thumb of you want a balanced color feel. So here are my supplies:

Here is my first color... I stamped my image across the whole card being sure to not do it too much because I need to leave room for the other colors. I like to stamp in a loose set of 5 (like you would see on a game die) or 7.

When you pour on your powder, don't go crazy. Just cover the sections you stamped and that will save you some headache.

Now with my blue powder, I had some fingerprints that took on some powder as you can see. No worries! You can just take a paintbrush and brush off the smudges. But just to be on the safe side, in between the colors you can put down some more anti static powder and be sure to wash your hands if needed! That's definitely something I need to do frequently. Sheesh, I can be so messy!

You can see my final card base all finished with being embossed! After you are done, you can take an eraser to the parts of the card that still have anti-static powder on it, if its not wiping off with your hand.

One of the other things I like to do is use this grid pad to stamp on. It gives my stamping a little extra cushion for a nice image but also I like to practice a bit before committing to a design. I stamped my kitty first with some milk and a dish and didn't like it, so when I stamped it on my cardstock I changed the configuration. But then I still didn't like it in the end and fussy cut everything instead. So you know, while I ended up with somethig totally different, prestamping did help flush out the design as I created. This has really saved me from hating cards when I am done!


And Voila! I heat set it to a nice blue color which will match my card base. In full disclosure I actually tried green first and didn't like it so just put some blue over it. Not too difficult! And in the lower right hand corner you can see where it got messed a bit. I just swiped the VersaMark again and re-embossed. Easy! And it gives a nice glossy shiney detail too.

One last embossing detail. I have these enamel dots, that I am sure you all have sitting in your stash. Do you ever design and find you don't have the color of dots you want? Because let's be honest, those things ain't cheap, at least not here in Singapore. So I just cut the plastic my dot was on and dipped that in the VesaMark and then the powder I wanted. And done! Now I have my own custom colored enamel dot and I didn't even have to go to the store to get it. I love that!


All done! What do you think about today's project? Have you done a lot of embossing before? I would love to hear how you like to do it. Drop me a comment or ask any questions you may have. Embossing was a bit intimidating to me at first but the more I practiced the better it got and now I can't imagine NOT embossing at least once on a card. It's funny how that works.
Be sure to stop over at the Sweet Stamp Shop to see the new release from this week. And the DT are running a contest... the designer to have the most mentions from orders made win something sweet! So I am passing that on to you... If you place an order, be sure to mention my name in your order commetns and then come back to my ORIGINAL Sweet Release post and leave me a comment. If I win, YOU win! I will send you a sweet package in the mail all the way from Singapore. You have until Friday to get your purchases in for a chance for us both to win, so head on over!
Thanks for joining me and I hope you have a SWEET day!
xoxo
k


2 comments:
So cute! Love the colored embossing on the black, really pops!
Ermagherd (as my teenager would say), this is SO cute! LOve!
Post a Comment