May 3, 2014

Mama Elephant Photo Inspiration Challenge

Hey there! I'm stopping in to share my submission for the Mama Elephant Photo Inspiration Challenge! If you have a bit of time, some Mama Elephant stamps and a hankerin' for some crafting', you should check it out HERE. Come join the fun!

Here is the challenge photo:


So nice and serene, right?  I have been pondering what to do for this card for awhile. I mean, I am just getting it finished a day before its due, I realise, but that's only because I wanted to really be inspired and try something a bit different. As I was going to sleep last night, it hit me.... SALT!

I love the photo above (mostly because I wan't a day at the spa!) and when I saw the big jar of salt rubs I thought I would try the water-colour salt technique for my card.

So, here it is:


I think the reason I thought of the salt is because of how I store my own salt: Yes! In a big jar! 
I gathered all my supplies. However, I ended up using some watercolor pencils instead because I couldn't find the right colour or coverage with the inks and paints I had on hand. (See the links below) But you can use any of the above. All you need is water-colour and some salt for this technique.

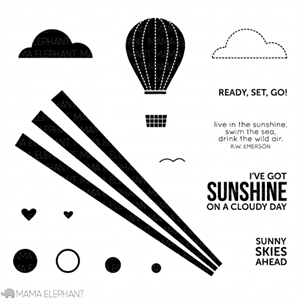
I decided to white emboss the sun rays from the Sunny Skies set so I had some water-colour resist going on with it as well.

Once you finish embossing, you want to cover your water-colour paper with paint and then sprinkle it liberally with salt. That's really all there is to it. Just one last step....Wait for it to dry (or use a heat gun, oh impatient one!) and then you rub off the salt to reveal its true beauty! What I love about this technique is it can turn out differently every time. Depending on the amount of colour and/or salt that you use.
The salt does a resist of its own and pushes the colour around which gives it a lovely pattern and texture. Here is my paper while it was drying:

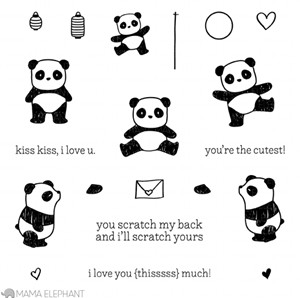
And here's a bit of a close up of the card. You can really see where the salt resists the colour. I cut the full panel apart and added a mat of Lemon Tart card stock but only on the inside edges that face each other. I chose to pop up just the upper panel with dimensionals but leave the bottom panel flat. I stamped my panda bear from Pandamonium and the umbrella from Up and Away. I also added some colour to the umbrella with some Copics.
Honestly, I just die over these stamps every time I use them. Aren't they just perfectly designed? They just make me smile every time!


Now tell me, do you notice anything about the sentiment? Did you notice right away or after I asked? It's not stamped the way it was designed. If you look closely you can see the words are a bit mixed up. It's just a play of the brain that moves things around to make it make sense to you (and the way you know it should be read) and you don't even notice at first! Anyway, I liked how this order looked better as it makes the eye travel from left to right. I also opted to stamp my bear in black (it was grey the first go-round) and then I stamped the umbrella in grey to make it a bit lighter and not as catching to the eye. It kind of makes your eye track where I wanted it to: the sentiment, the bear and then the umbrella. Does it do that for you or am I crazy? The latter being a very very good possibility ;)

Ok. That's all for me today. I hope to jump in here later to show you the other card that I made that just didn't make the cut. I've been crafting like a crazy banshee and loving every minute of it!

Thanks for stopping in today. Hope you have a smashing day.
loves,
k


Apr 30, 2014

Simon Says Stamp Wednesday Challenge: Keep It Simple

Hey there! Good morning to you! 
Just stopping in real quick to share two cards with you. Over at the Simon Says Stamp Wednesday Challenge blog this weeks challenge is Keep It Simple.
Of course, you can't pass up a chance to participate in that baby. I have been trying my hand at keeping it simple and wanted to share.


The reason I have two cards is because it was SO simple! You can see here my first card:
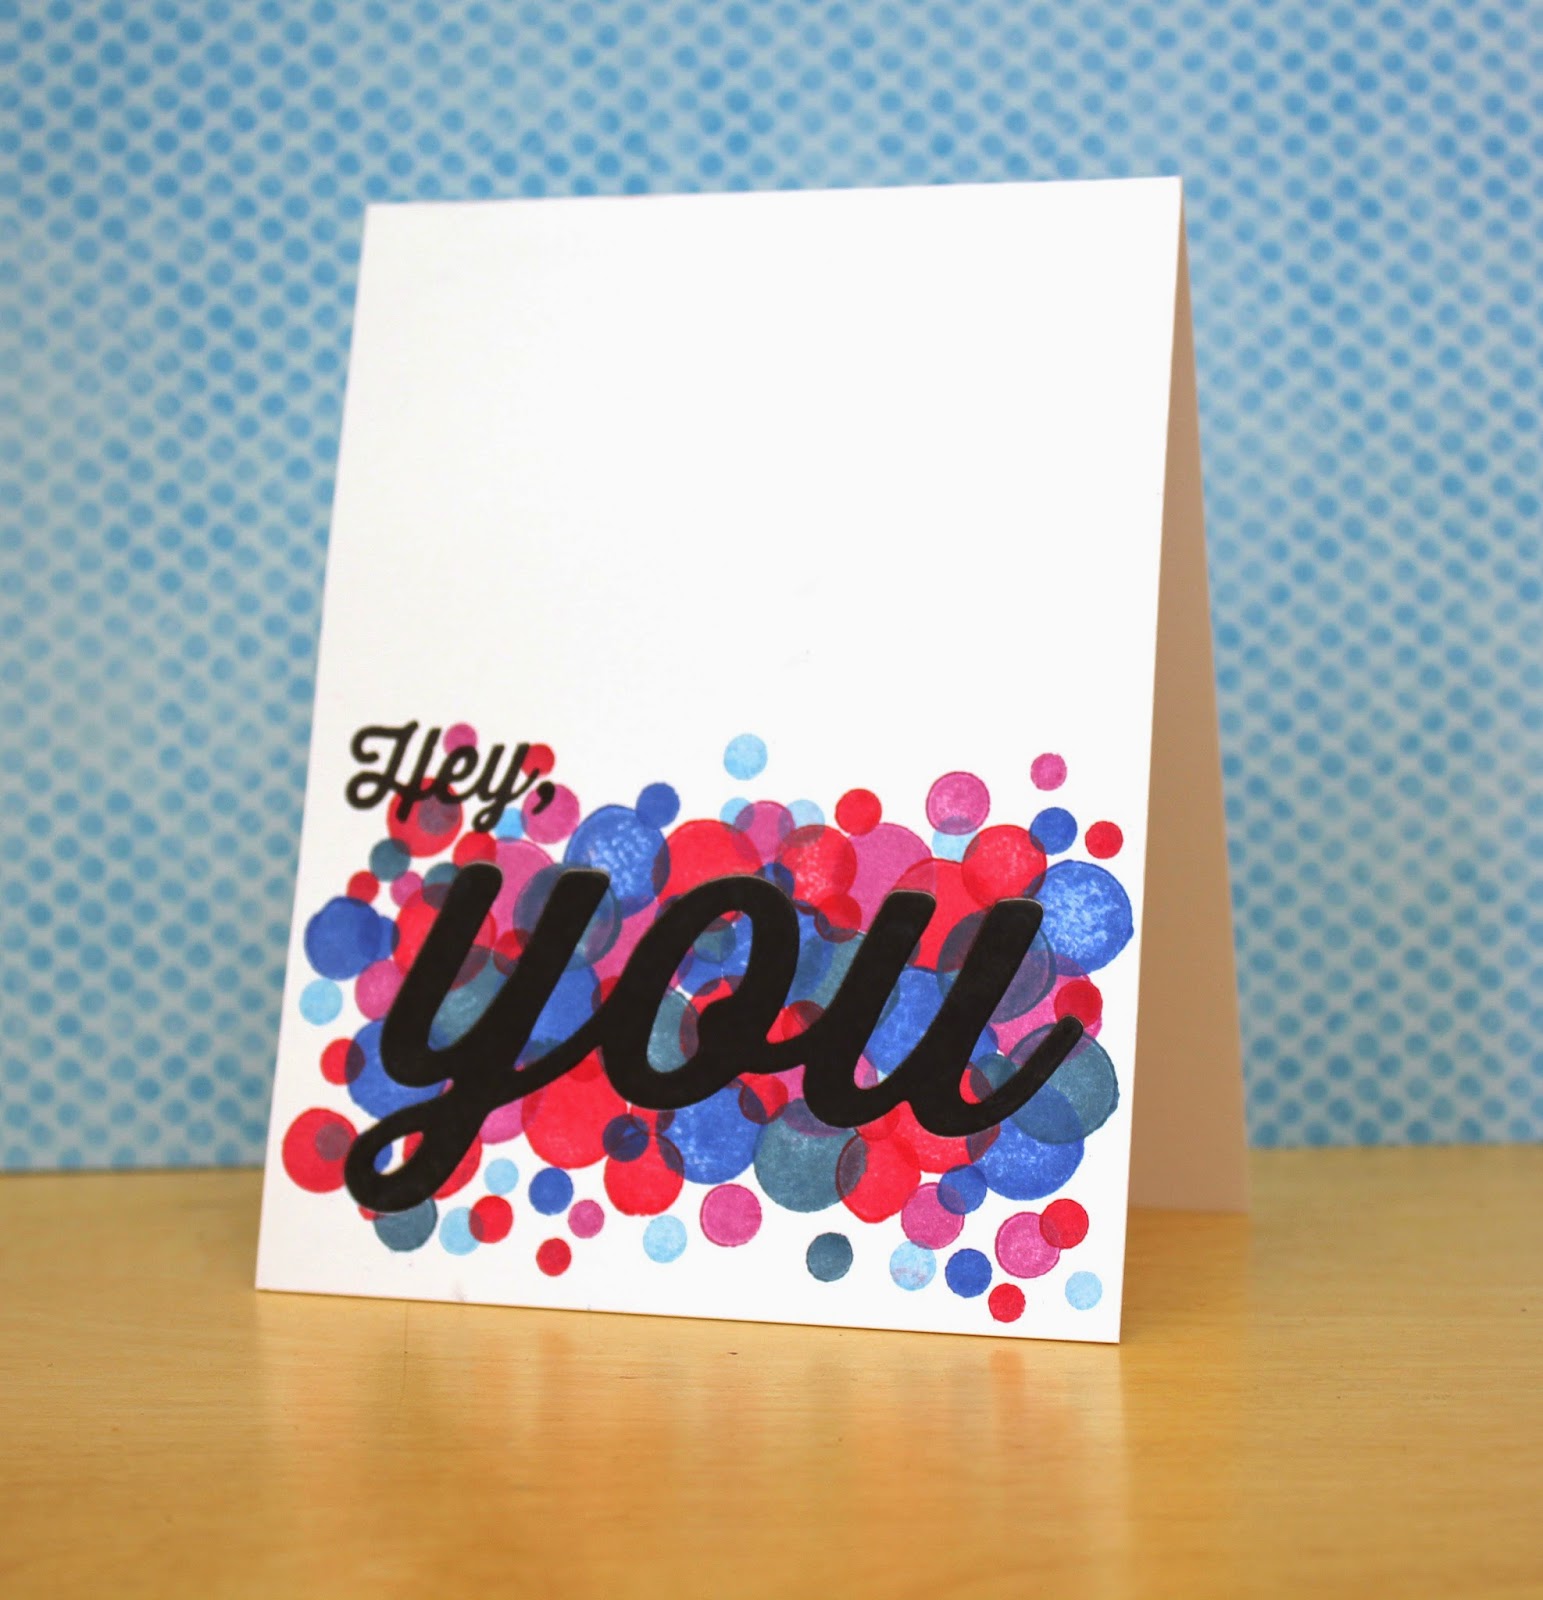
 I used Simon Says Stamp Lots of Dots and some Memento Luxe inks (swoon!) to stamp my dot background. I used the Big You die cut to cut out the dots and then die cut a replacement in black. I then stamped my sentiment "hey" and voila! It's done!


But.... what to do with the YOU part I cut out?? Well, nothing better than to make it a card as well! So here is my second card. Easy Peasy...
 I just glued it down flat (cause we are keeping it simple here folks!) and stamped my sentiment with yet another Memento Luxe ink. These inks are AMAZING! I might never use dye inks again. I love the coverage and the vibrancy of them. I'm totally willing to sit around and wait for them to dry just to have the look. Simply lovely.
Ok, so thats all today. Super simple and in no time flat, you have two cards to send!  It's such a great challenge and I'm getting in just under the wire. (I think. That time change is a doosey for me to figure out!)
Just as a note: We are supposed to use Hero Arts today, and I had totally planned on that, but then I finally got my new stamps and had to use them! They are so fun!

ok. Gotta run the kids to playgroup. Have a smashing day!
love to you and yours
k


Apr 29, 2014

Celebrate Your Day

Here's a little something to start out your week. Hopefully right! A little fussy cutting and coloring and "pop-up dot-ing" to make you feel happy today.

I kind of love this card. In fact, it took me awhile to actually part with it. There are so many lovely layers in real life that I'm sad this picture doesn't do it justice. But I figured in the spirit of spring cleaning, I would dig it out and share it with you!

I still have a lot to learn as far as my Copic marker-ing skills are concerned. And of course, the photo is a little burned out so the colours are too. I am still trying to find the perfect photo taking set up. It's taking so long! Maybe if I stopped leaving my camera in taxies, I would have more time to spend taking photos ; )

Anyway, I'm looking forward to a new week hopefully doing some challenges and I have a few orders coming in too... I splurged on ink (and some stamps and some dies) last week, so I'm excited! So stay tuned for some new stuff.
And after I spent all my money, I realized that what I really need is paper! Eek! I'm kind of running out and its not like I can take a quick trip down to my LSS to pick more up. No way.  I need to have that kind of stuff shipped from the states, and well that takes some time and money which I just spent on ink! Oy!

Anyway, onward and upward. I hope you have a great week ahead for you. We've had some sick kids this weekend so hopefully things will start to pick up here soon.
Thanks for stopping by!

love to you and yours,
k

Apr 27, 2014

I quite Like you...A...Lot

I'm feeling my age today because of this title. Do you remember the movie Dumb and Dumber? Jim Carreys caracter would say, "I like you A LOT" in a funny way and I used to laugh about it with my friends. So here is my little alligator who likes you, A LOT!


I used the stitched heart outline from Simon Says Stamp Watts Up, the cute alligator is Paper Smooches and the sentiment is Wplus9. And I do like it A LOT!
I used some new ink colors (new for me) from Hero Arts and I do think I have found my new favourites!

Anyway. Just a quick hello to you this nice Sunday afternoon. Hope you are enjoying your day.
thanks for stopping by.
love to you,
k


Apr 26, 2014

Papertrey Ink April Blog Hop Challenge

I am so annoyed with myself! I had my card all ready to participate in Papertrey Inks blog hop this month and I MISSED IT!! Arrrrggggh!

I think I was on top of it last night but then missed the boat because maybe I was off on the time change? Well, regardless, it's totally annoying but I still had fun making my card, so I am going to share it here.

The challenge was to take inspiration from embroidery. So thanks to a Pinterest search I found this little beauty and knew it was meant for me. I took a picture of it on my phone thank goodness because when I went back to find the link and source it was gone (of course). So this is the only picture I have and I believe from looking at it, it is some Sashiko style embroidery? Please someone correct me if I'm wrong! I love the black on the burlap. It's just so beautiful!
And here is my take on it. I pulled out an oldie but a goodie PTI set: Guidelines and knew there would be something in it that would help me find the look I wanted. And I think I was right. What do you think?
I made this a 4.25 squared card. I cut the "Sashiko" piece down to 3x3 and matted it with some True Black card stock. I die cut a circle out of velum and then using the Around and About Sentiments I added the circle sentiment and then the heart. You know, that little itty bitty heart, I think is too small, but I lost the bigger one down my sink drain when I was cleaning it last year! GASP!

Honestly, I was (and still am) heart broken because I think it was the best designed heart I have every used. Not too chunky, and just the right size for most designs. I'm still so sad about it!
I opted to glue down my vellum using Glossy Accents that followed the circle under the sentiment so you can't see it. I was going to pop it up but I do like being able to see the design through it which is why I stuck it down. And that little heart helps showcased the design a bit more too. What do you think?

I'm sad to have missed all the chatter and fun from the blog hop, but I will be extra dutiful next month to pay attention! Can't wait to go back and browse all the entries and glean even more inspiration from everyone.

If perchance you had a moment to visit me today, just wanted to say....
thanks for stopping by!
have a good one,
k

Apr 24, 2014

Faux Watercolor Thank You

One of the things I love about die cuts is you can use both the negative and positive pieces. It makes fast, easy cards. 

Here is the negative from the card I made the other day (in the last post...just scroll baby!)
I love that you just pop the little bits back into the letters and its easy to read.


This background paper was made using Crayola washable markers. Can you believe it?! They run and bleed so well when you add water, its just like painting with water colours. I told you I would share with you the tutorial, but you really don't need one, its a very simple and hopefully I will explain it below well enough.
So, say you are dying to try this whole water-colour technique that's all the rage right now, but you don't want to invest in the product just yet. There is the perfect solution... Pull out your kids markers and go crazy! Just be sure you use WASHABLE markers and you will be fine.
Use nice water-colour paper and draw a design of your choice with as many colours as you'd like.  Remember its going to bleed so you don't need a ton of detail. I like to use big strokes and run them around each other.

After you have your paper marker-ed up, add some water with a paintbrush. I love colours blending, but not too much. I think it's nice to have a vibrant variety to look at. Of course everyone is different, so just create away!

Now once you are done "painting" and your paper has dried, go back in with a black pen and draw around the different shades of pooled ink. Even if there is a dark drop in a larger pool of light ink, draw around the little drop and then around the bigger one too. Basically outline every different shade you see. As you go, you will start to see how many different shades you really do get when colours blend! What happens as you do it is you get this marbled look on your paper from the added pen that's really fun to look at. It adds some dimension to your colours that you may not have noticed before.  (Click on the picture to see a close-up. That might help you see what I mean better)

I have one more to show you. This was one of the first ones I did. I just wanted a little bit of colour so I drew three circles in marker. Then added water:
See how they bled together and created more shades? Then I took a pen and outlined the shades. I love how it looks. What do you think? (Uh, don't mind the crap-tastic photo, I tried to crop the chaos out but, you know...)

I would love to hear your reaction and if you have time to try it out, be sure to send me the link. I would love to check it out!

Thanks for stopping by today. Hope you have a good one, wherever you are.
I'm just shutting down for the night. It's almost Friday here which is a big deal in our house! That means we survived another week of Singapore Maths and Malay Language classes at school! That's no small feat for my little boys (and the momma that loves them!)


loves to you and yours,
k

Apr 22, 2014

Sketchbook Saturday #120

Hey there. Just stopping in with another card today...

I love everything Iwana Palamountain does. I've had my eye on her and finally get a chance to participate in one of her challenges on her blog!

Here's her sketch.

I actually created two cards because with the first card, I realised as I was doing it, is a direct RIP-OFF from a Jennifer McGuire card you can see HERE:

Seriously, I'm so ashamed! Please tell me you do that sometimes too. It's like a subconscious thing and then when I finish it hits me like a ton of bricks. DUH! You didn't create this! You Crazy! (I had to post it anyway cause it's still cute, even though its not mine ; )

So after I got that out of my system, I sat down and made another card. Much more me. All me, in fact (although I did use one of her favourite Hero Arts die cuts, which is one of my favs too...)

I created this "thank you" die cut using a marker water-colour technique I found on a blog when I was searching for an art project for a class friend and I do here at our condo. And wouldn't you know it, right now I can't find the link! EEK!! I may have to do a little tutorial to show you how if I can't find it because really, its totally worth trying. 
 It's really fun because it makes amazing paper for die cuts because no two pieces are the same! They always come out different. Which I love.
I finished up by embossing (or debossing... depending on the side you use) for my card base. Glued that die cut down and called it good.
so there ya go. Challenge done!


Thanks so much for stopping in.
Speaking of my art class, I gotta run. Were making wall art displays with the kids today. Lots of painting to be done!

loves
k


 photo copyright.jpg
envye template.