Aug 29, 2014

Paper Wings Productions: Featured Friday


Hey there! Thanks for stopping in today. I'm over at The Aviary with a Featured Friday post for Paper Wings Productions. So jump on over! Today I'm covering one stamp set; two ways with this great Paris Clear stamp set and adding water-colour for good measure.


Anybody else out there intimidated by water-colour? There is SO much out there. Lots of ways to do it, but regardless, the results are stunning and will surprise you every time!


I hope you will come join me and maybe you will find something new to love? I know I did!

xoxo
k


Aug 27, 2014

A little bit of Truth

Hey crafty friends! I stayed up late last night. I was supposed to be crafting (I am a bit behind!) But all I could do was browse the internet. I came across some blogs that are big in the biz (I guess you could say). Not the crafting biz, but the blog biz. I read posts from different women. Most posts were about people: moms, dads, marriages and children. But also about addiction, frustration, depression, and trials. In short; life.

As I had a few moments to myself, in my own brain today something dawned on me.... I have a blog. I have people who visit me. But yet, I don't think anyone knows who I really am! And I don't know much about you either!
Now, please know, I am not turning into a "get to know yourself"- "share your deepest and darkest" blogging kind of a person. This is a place for crafting fun and learning, but I also thought that maybe, just maybe, instead of just pretty cards today, I could also let you know a little bit about who I am and how I came to be me.  Then when you come to visit me in this little land o' craft, you will know more about who's behind it all and not just what you see.

As you may know, I have been so blessed to be chosen to be on a few design teams these past few months. I am so very very excited! It adds some more fun to this hobby that I love. Now usually when you apply for a design team they always ask you to share a little bit about yourself. I usually start out with "Hi! I am Kristie. And I am a stay-at-home mom of 4 crazy boys."  Because you know, it's the truth. That is my name and I do have 4 boys and boy-oh-boy do I ever stay at home with them each and every day. But I realized this doesn't say much about ME. It says something about what I may do with my time, but that's about it.

So in way of introducing myself to you, I thought I would go back a bit and talk about who I am inside and how I have changed through the years to find myself here: A mother by day and a card maker by night. Because let's be honest, something leads us to cutting paper and stamping ink and trolling the isles of craft stores for bits and bobbles that will look so great on a card!

I feel like I have been creating for a large part of my life. Not cards actually. It started when I was young. I loved music. I loved to sing. I would play dress up and sing my favourite Annie songs.
I found dance and enjoyed creating stories with my movements. I did those things for many years and then I went to college and most things changed. 

Upon leaving my parents home, as most young adults do, I found parts about myself that were different than I thought. Sometimes better but most of the time, not as pretty as I would have liked them to be. I wasn't always the best friend I could be. I wasn't always the most honest, or forgiving. I have things I have done that I wish I hadn't. Things I wish I could forget, but can't. I have regrets and disappointments but also triumphs and lots of learning and growing.

In college, music lead to acting. Which thinking about it now, seems so odd. I guess it fit me then. And maybe it still does, but I chose not to do it after getting married and having children. For many reasons, that I don't need to go into. But for many years I enjoyed creating characters on stage.

If you were to tell some of my old college friends that I was a crafter, they might actually laugh at you. In fact I have had at least one laugh at me! "I didn't see it coming" he said. Like my crafting was a UFO that landed in his front yard at midnight. Well to me, you don't have to see things coming to know that when you want to create things, you just find ways to do it. 

I think we are all creators inside. Some create spreadsheets, some organisation out of chaos. Some of us use oil pastels, water-colour or charcoal. Some create music where there wasn't any or dance moves that would rival even Janet Jackson (I am showing my age here ; )
But deep down, we all have to create. It is a fundamental part of our beings. And I have found that I love to create cards. I love to cut paper. Heck I love to SMELL paper! Pretty papers with patterns and colours that make your head spin. I love the smear of ink and the bounce of the stamp off the ink pad. I love removing said stamp and seeing a crisp clear image revealed. Something permanently pressed where there once was empty space.  I don't know what it is. I just know I love it.

I first started card making in 2009. I had a friend at church who was a Stamp-in' Up demonstrator and she had monthly craft nights that I started going to. I bought a few stamps and ink and mostly enjoyed chatting with my friends. I found Papertrey Ink and designs that I didn't know came in stamp form. I started to see patterns and designs all around me. As I walked down the street or visited a store. I soon became enamoured with it all. Creating something out of only a few elements. 

Now, I have tried just about everything. Jewellery making, Quilting, Soap making, Scrapbooking even non-crafty stuff like Tai Chi, Taikwondo, and sailing! It wasn't until stamping came into view that I felt settled and I never looked back. It started when I had little kids at home and of course sitting at a table in the quiet of the night brought enjoyment to the chaos of the days with little children. (A lot of you will know what I am talking about!) But also, I fell in love with cards because of 2 reasons:

1. They are a small canvas. You can go from blank to done in a little over 30 min. if you are inspired. You can use colours you love or trends you have seen only in shop windows. I tend to have a short attention span so laying out pieces for days to create something (quilt, scrap page, necklace, unfinished furniture) was just too daunting for me. It's almost an instant gratification, so it fills a part of my life that just needs that boost of quick excitement. You know!? 

2. It is also the vehicle in which we send out love, encouragement and happy thoughts to those that are important. Whether they are important to us, or to someone else. I have sent cards to total strangers before but also my very own mother.  A handmade card can always be enjoyed!  You only have to participate in Operation Write Home or Ronald McDonald House to know that these little cards, while seemingly small and unimportant have the ability to make a little change. 

I believe that its the little things that make the biggest difference. And that even though I am not on Broadway or winning Grammys or Emmys, I can still make a difference in the small sphere in which I live. When you bring happiness to one person, they in turn will bring it to another. And that my friends, is what I think life is all about.  Even if you only do it with paper and ink.

So I am a crafter, a card maker and a mother of 4 crazy boys. But I am also a woman, a believer, a lover (and a fighter :), a sister, daughter, aunt, a friend and a member of this human race that feels the burning inner drive to create.

I have learned how to be kinder to people, but need to apply it to myself more often. I have unsightly varicose veins (Thanks Dad!), but I never see them so I don't really care. I eat pizza every Saturday night while watching a movie with my kids, and I rarely say 'no' to a diet pepsi. I don't like to exercise, but know its good for me. I love me some brownies and ice cream but I know its bad for me. I, like you am a dichotomy of things all rolled up into one little (or not so little) package. 

So that's my story! What about you? What's your story? Cause I really do want to know! We connect with each other over time and space every week and really it's silly if we don't know each other, if even a little bit.
So if you have some time, leave me a comment. How did you get started in this craft? Are you new to it, or did the bug bite you long ago and you have yet to step away? Did you take a hiatus, and then return to it? (Like I did after babies... cause sometimes you have the energy and sometimes you. do. not.) 

I would love to hear from you! 

Thanks for stopping in today. For sharing with me, my little bit of truth. And thank you for your crafty support. You make a difference to me!

xoxo
k


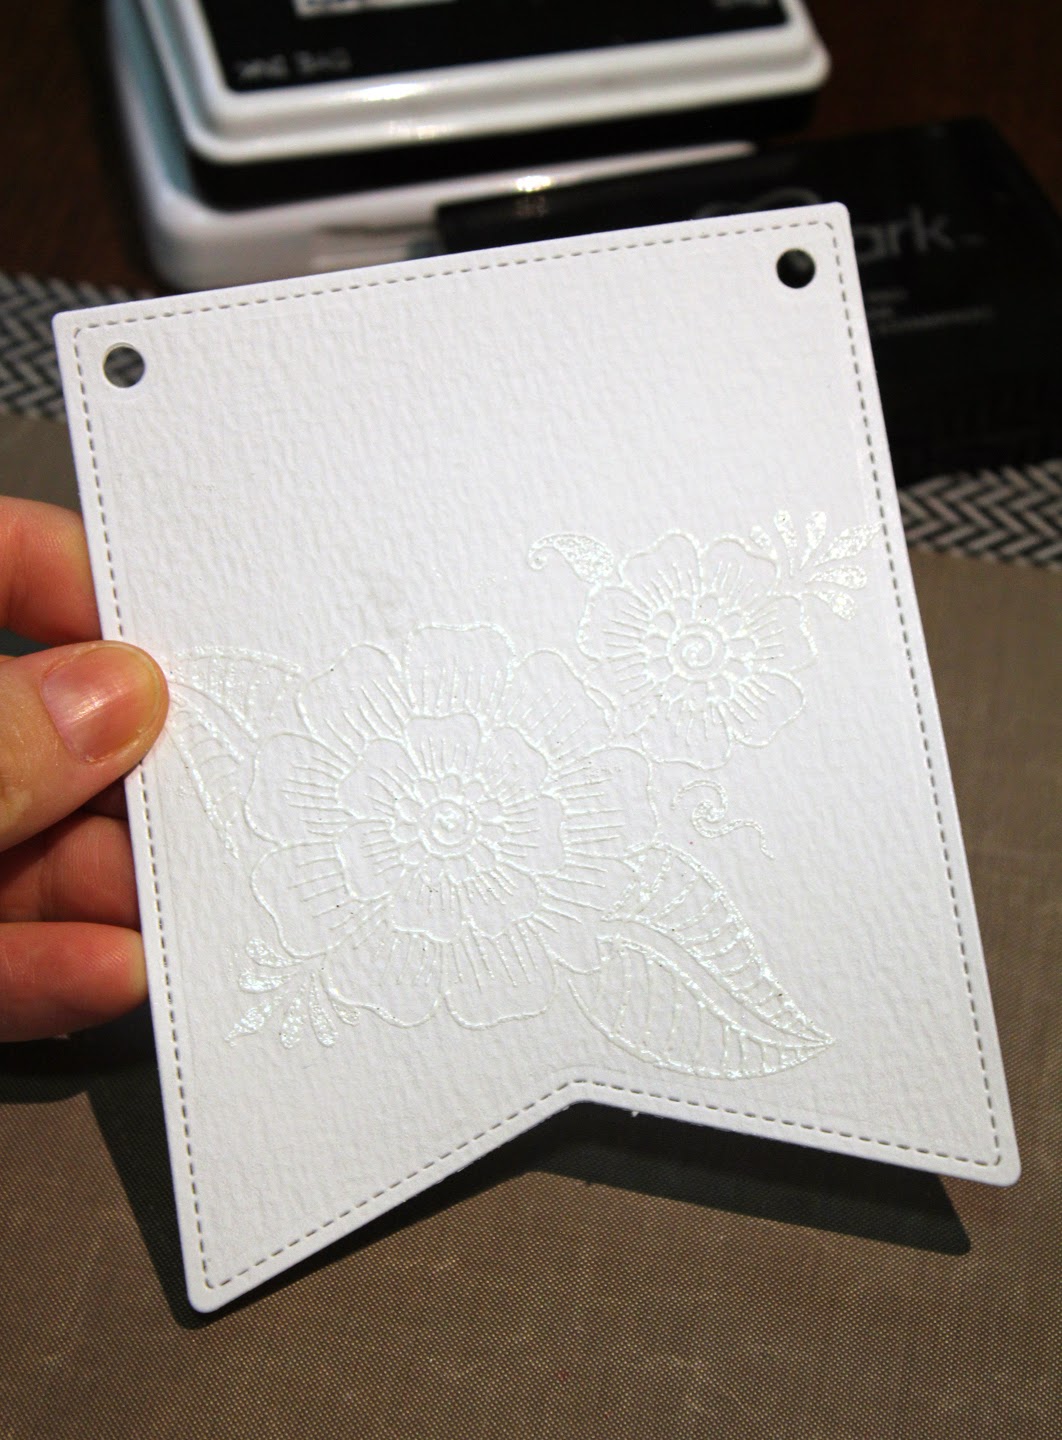
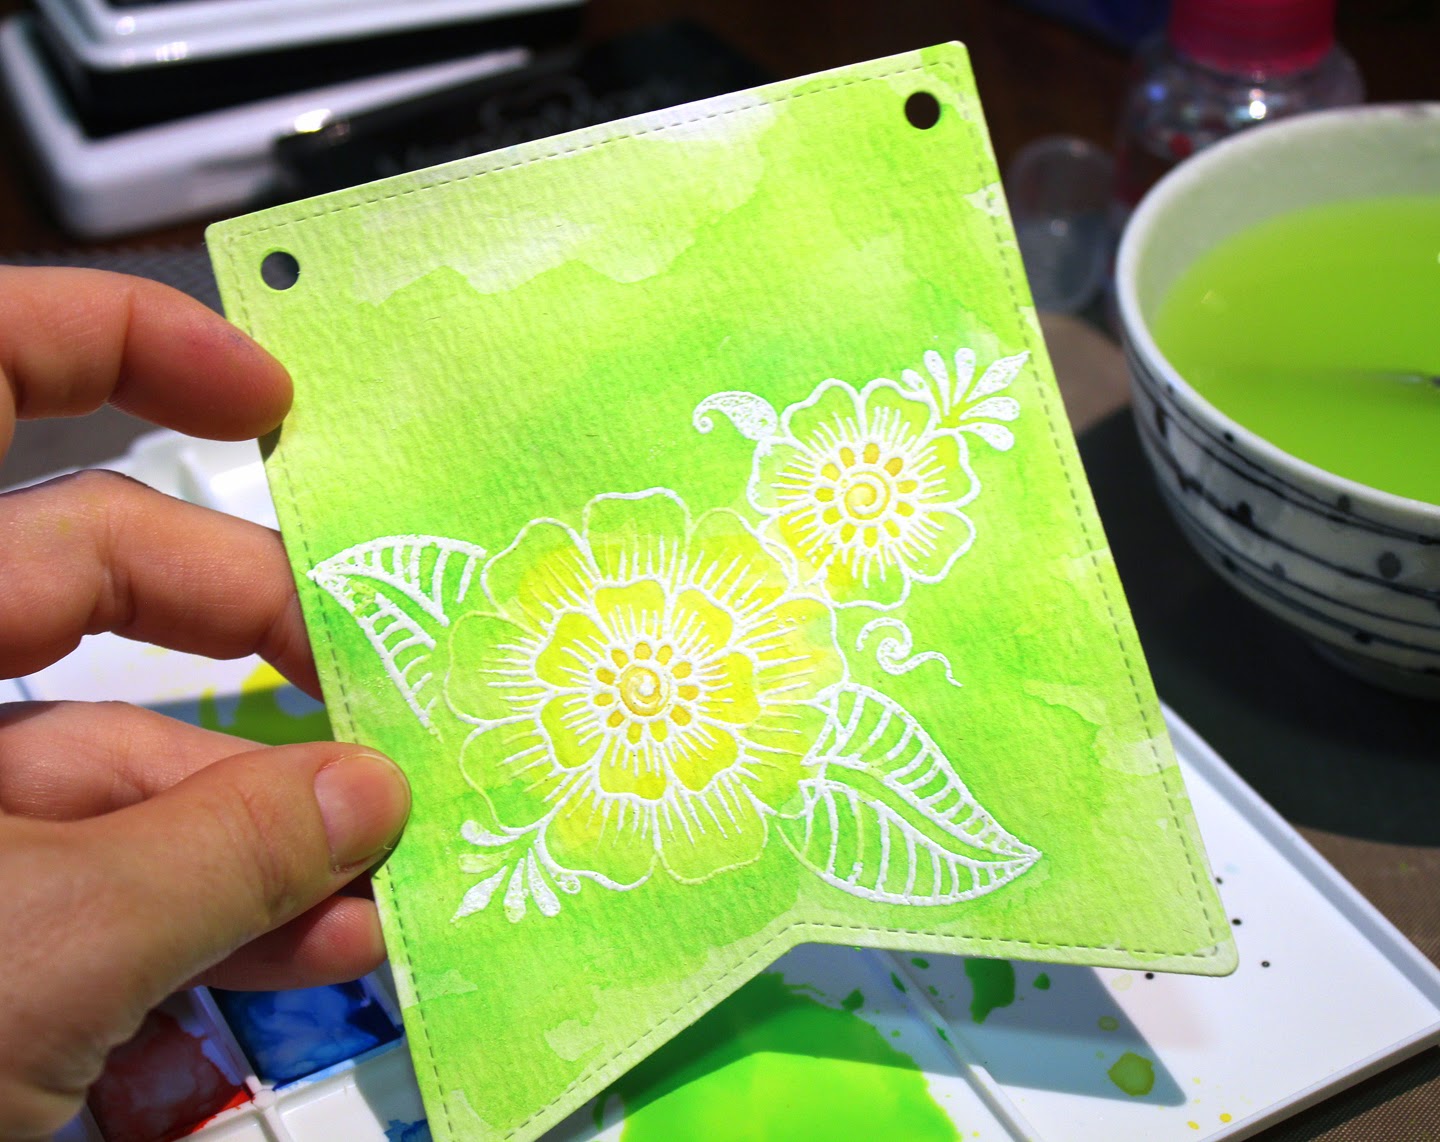
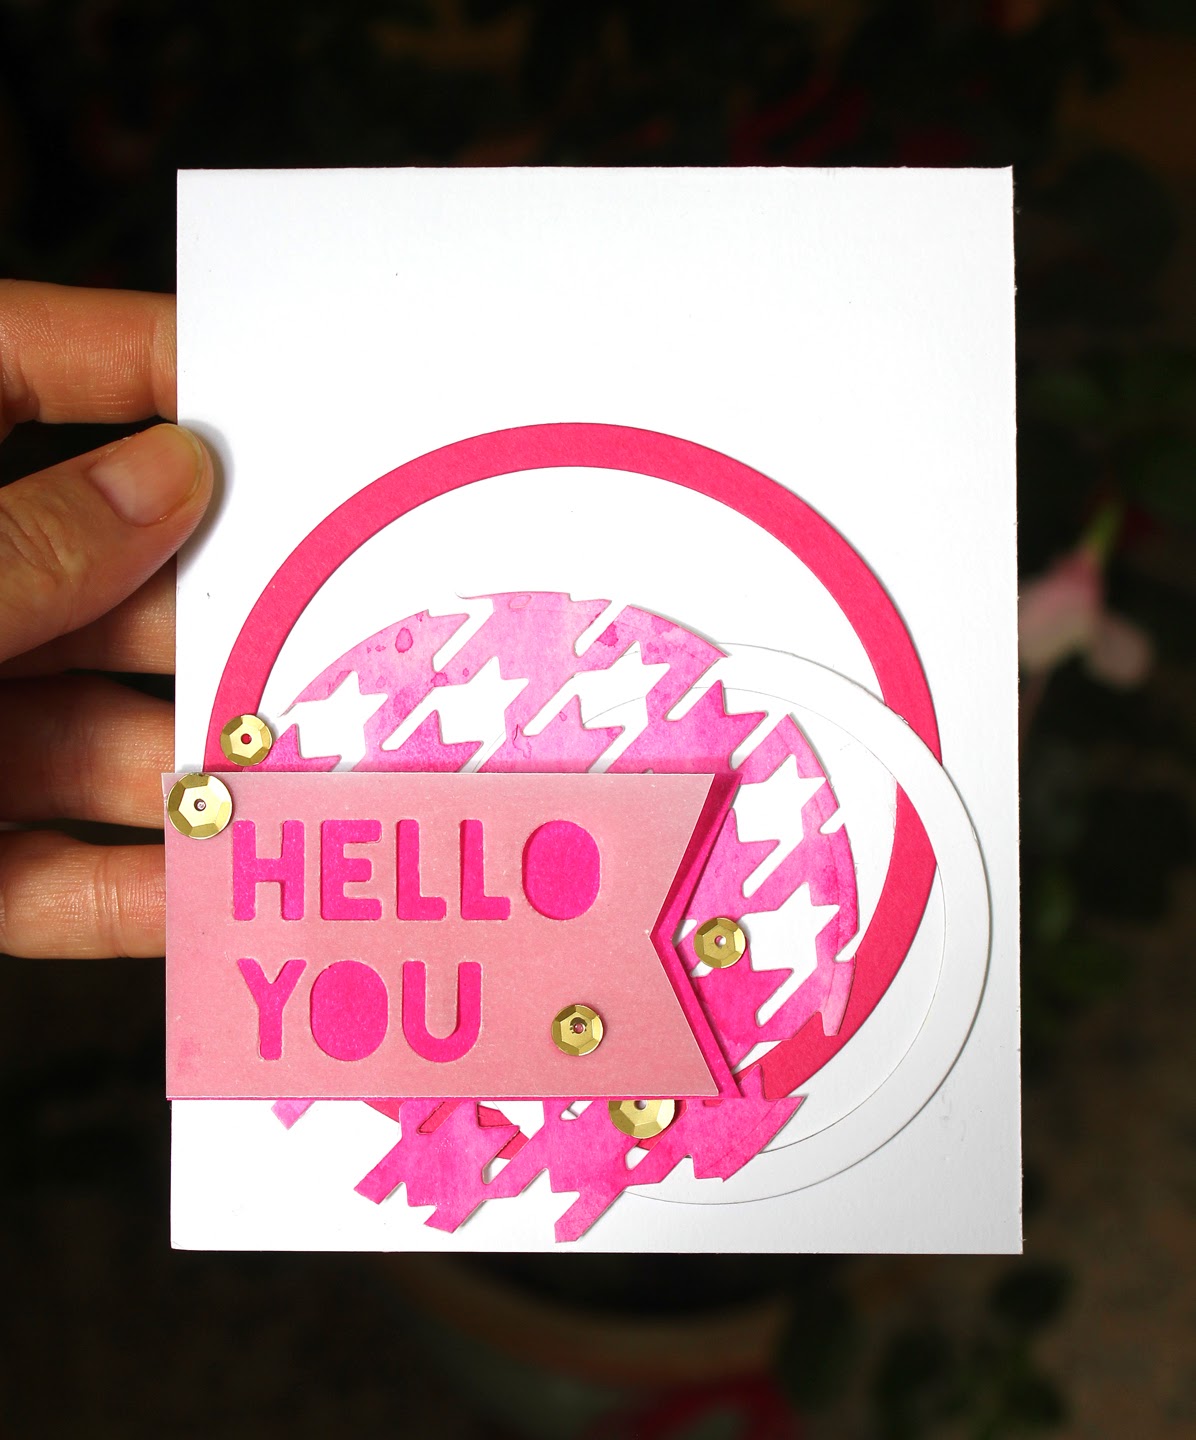
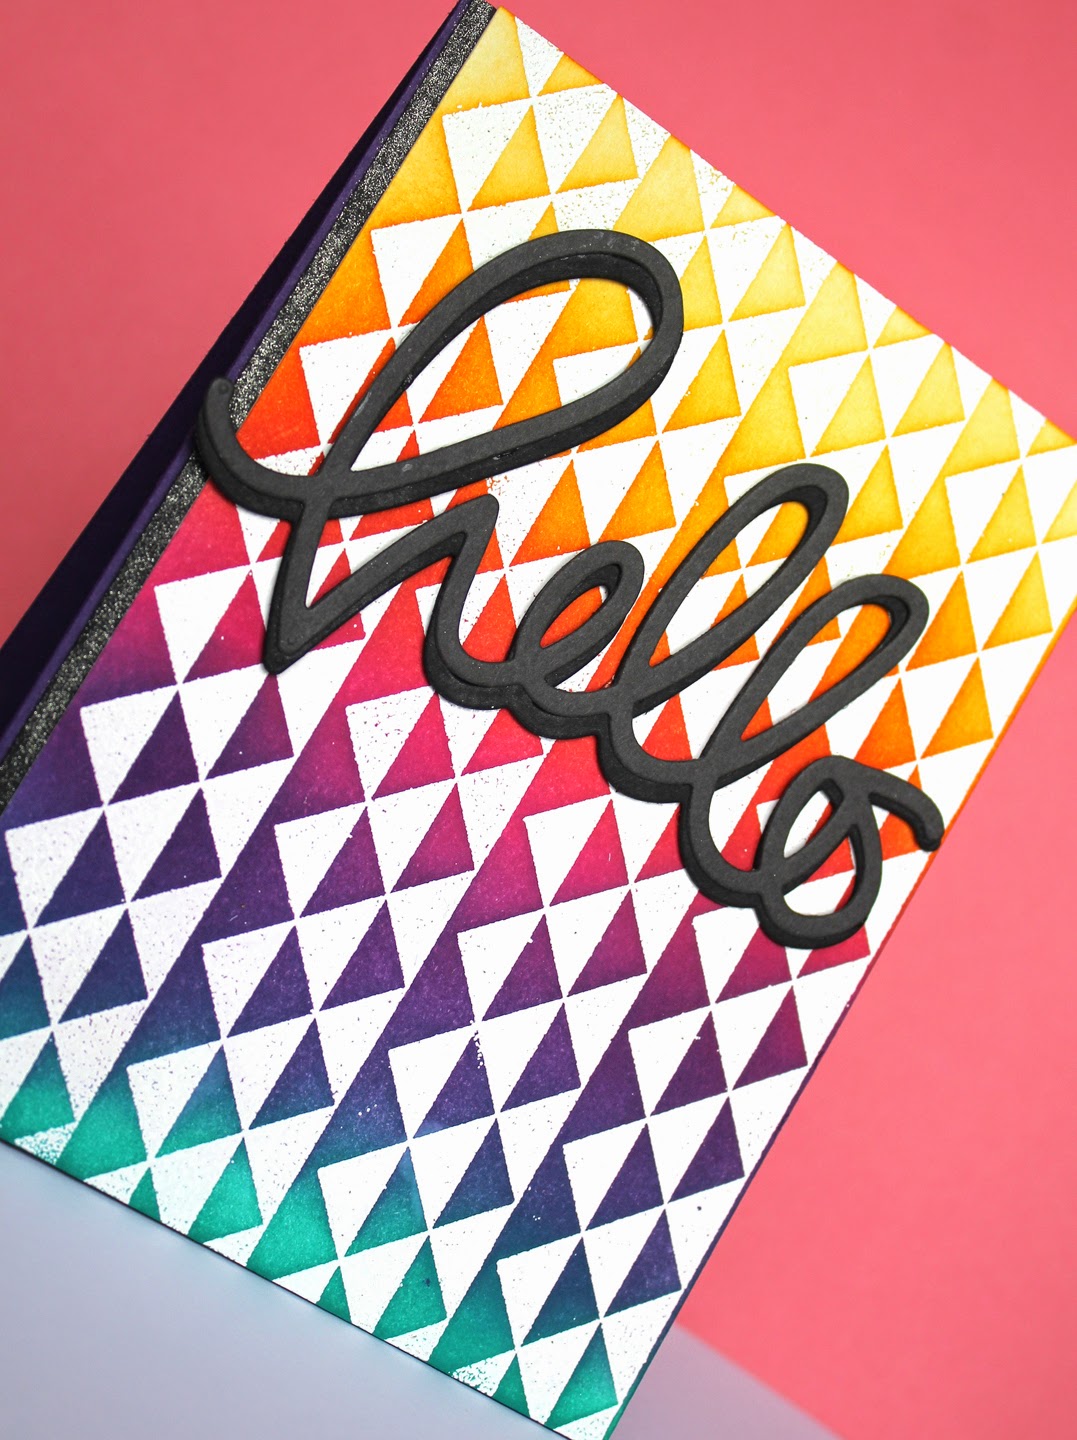
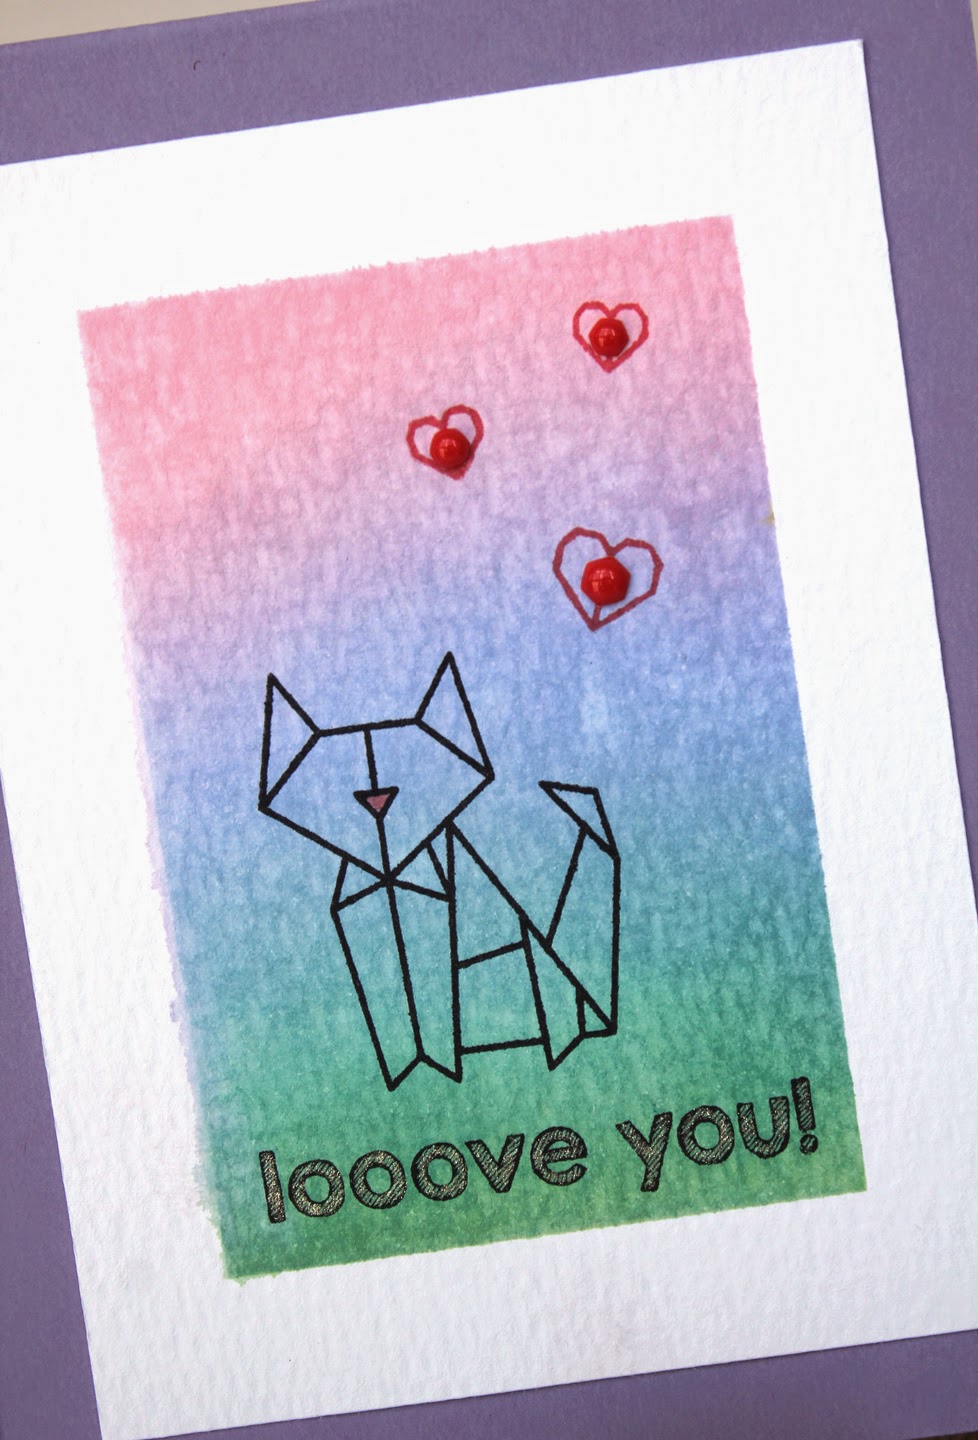
...and for those of you who made it aaaaallll the way down here... heres a little somethin' pretty to look at. Thanks for your visit!
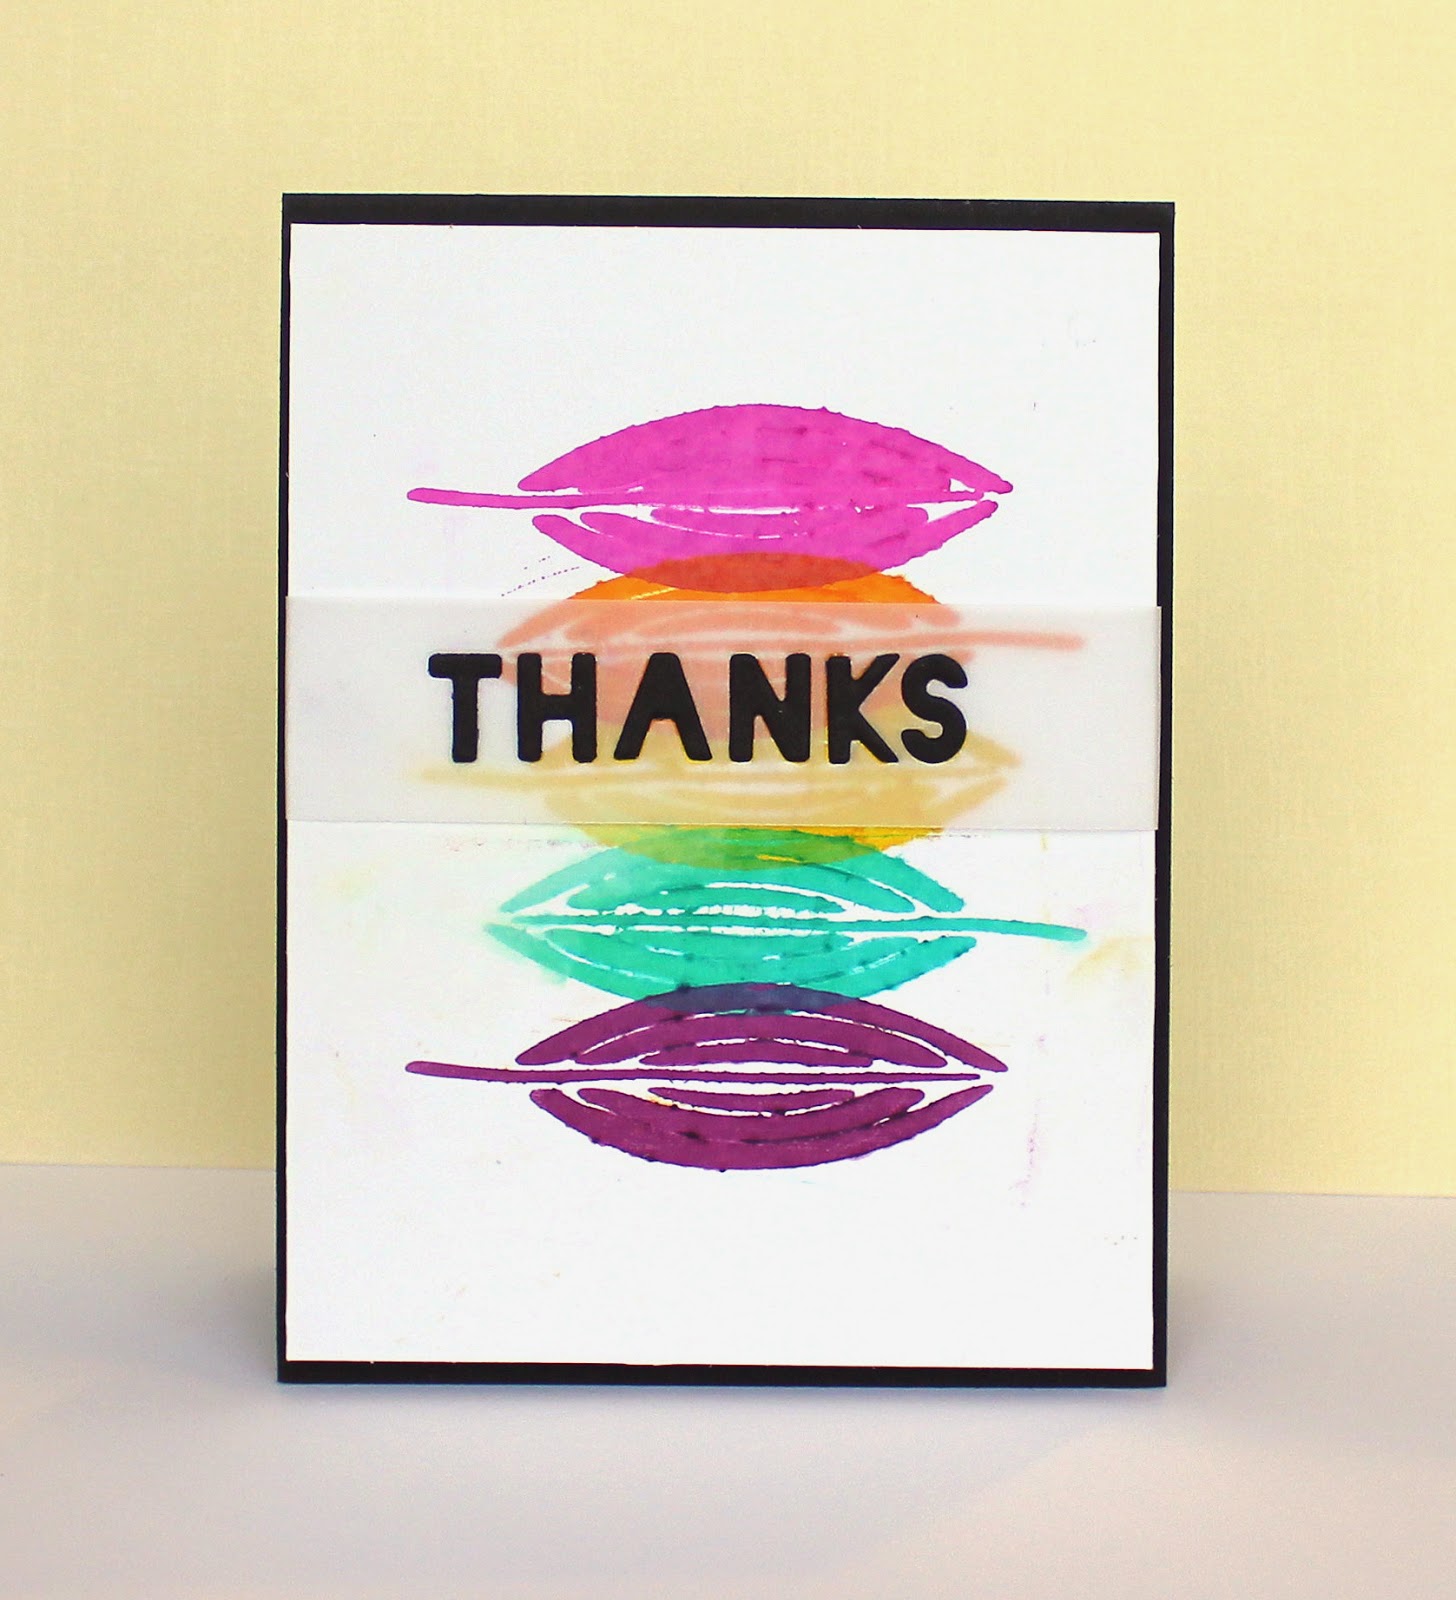

Made with:
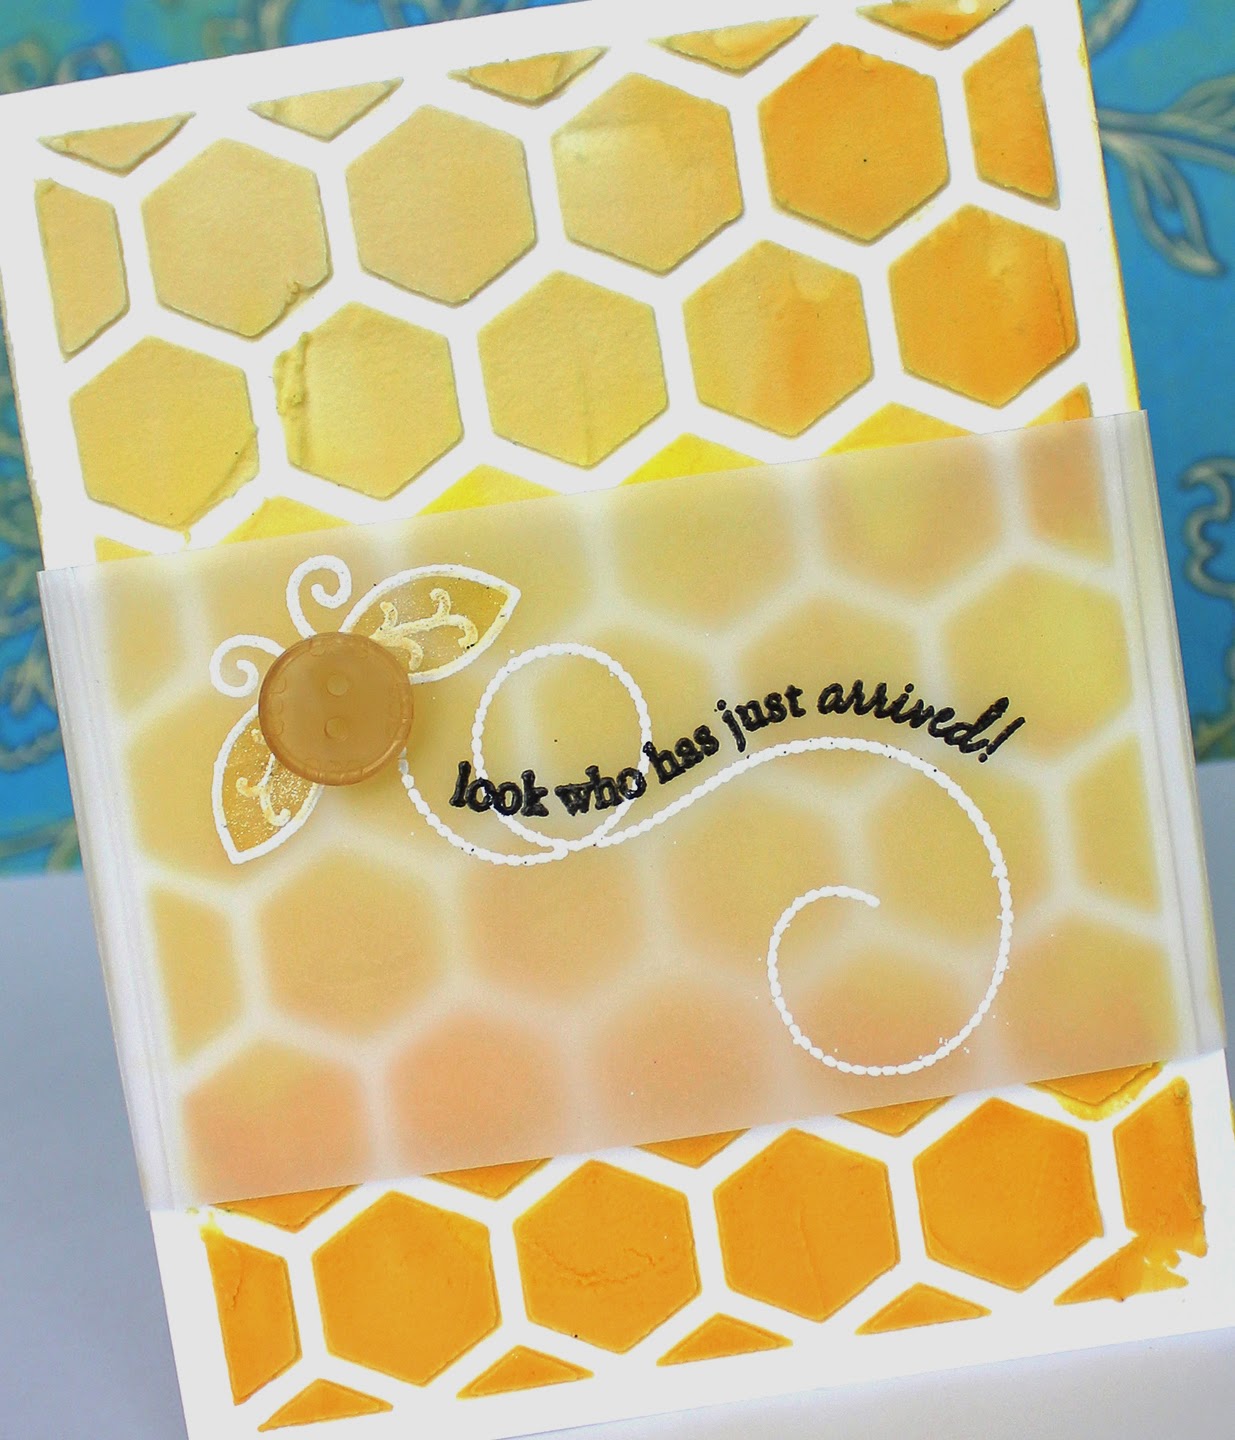
Stitched Party Banners die cuts, Hello Baby stamp set (Lawn Fawn)
White Card stock (Papertrey Ink)
Water-color paper and gold twine from some odd art store ; )
Faux water-colour technique
and a whole lotta love!

Aug 26, 2014

Happy Monday!


Hey there! Now, I am the first to admit, that Monday's haven't always made me that happy. But today wasn't too bad (my Monday is over!) so I can say with confidence, "Happy Monday to you!"

I have a quick card to share today, for no other reason than sharing it. I made it awhile back and it has everything to do with embossing and masking. Take a look:


I used a bunch of background stamps. Mostly from Papertrey Ink, but one in there from My Favorite Things. I used all Zing embossing powders. The green and purple one being the metallic kind they carry. Kind of mellow but shimmery. I skewed the embossed panel off the side of a teal card base.

It's an easy card, to celebrate an easy kind of day.

And what are you up to today? Lots of crazy-town or a bit mellow off the weekend? Whatever life may be dishing out to you, I hope today shapes up nicely for you!

Thanks for stopping in! I know it takes time, and I do really appreciate it. I hope you have a great week!
xoxo
k

Aug 23, 2014

CutCardStock.com


I'm excited to start working with CutCardStock.com starting in September! So keep your eyes open for some amazing product. I just received my supplies and you are in for some real amazing things! If you are new to CutCardStock.com, head on over and check it out. They have an amazing array of papers, envelopes, card stock and accessories for paper crafters, designers, Copic colouring, and specialty designs. Stay tuned!


Aug 20, 2014

The Card Concept: Be Inspired!

Hey all! Welcome to my little space in the blog-o-sphere. It's Kristie here and I have a few cards to share with you for The Card Concept challenge for this week. Check out the inspiration below:


My challenge for this week was to create a Clean and Simple card with the above picture for inspiration. The first things that stand out are obviously, the white on white tone, the BIG chartreuse flower print and my favourite element; the stitched head board. I Just love it!  So here is what I came up with after a few different tries:


Now I say a few different tries, because I did make a few cards for this challenge. I for some reason, really thought of myself as a CAS designer. But it took me a few tries and some reading of the "styles" to come up with something I felt fit and even then, I had to ask some people if this card did actually qualify as a CAS card!

But... lets not get ahead of ourselves. Before we get into ALL that, let me show you what I did for this card. As I said, I LOVE the stitching on the headboard and knew I wanted that element in my card design. Lucky for us there is a plethora of stitching die cuts on the market that help give this great look without having to wield a needle! Whew! 


I used a die cut from Lawn Fawn to cut some water-colour paper and then embossed my flower images in white. I then took a blend of green, yellow and white water-colour and did a 'simple' wash over the entire area (I say simple because if you are like me, even a watercolor wash takes some time and concentration and becomes not so simple when you freak out about where you want colour and where you want water-- aaawww Freak Out!)


So once I had that, it was really simple to just add a sentiment and pop it up onto a card base. The only trouble was what to do with those pesky holes! I didn't want to run ribbon through it because it became way too bulky, thus killing any CAS qualities I felt like this card actually had (which after the watercoloring fiasco, seemed like very few) So I opted for some embroidery floss twirled around the holes a few time. Not the most simple execution but hopefully still a CAS look.


Ok, so that was card creation #3. Let me introduce you to cards 1 and 2. And I'll tell you why I didn't chose them to be my final card for today's challenge, (as you sit there and think I'm crazy!)

Here was the first card I made:


Now I LOVE this card. I think its super awesome. So awesome in fact that I made a whole set of them! They were SO simple to make. Stitched die cut, pop of colour, great big sentiment all white on white. What's not to love? And really, they were so simple! BUT, and that's a big BUT...


It was only after seeing some designs from a different category that these cards seemed too Clean and Graphic to me. (Not to be confused with Clean and Simple.) I re-read the styles and while most of this card design fit CAS (easy to recreate, lots of space, limited layers) the features of the Clean and Graphic seemed pretty spot on too (bare boned, no frills, message conveyed quickly). I mean, that's all I see is a BIG message and no frills! Anyway, I love them, and maybe that means I am more apt to be a Clean and Graphic designer, but I was not going to be deterred. 

I was determined to create a spot on CAS card... And card #2 was born:

So honestly, you want to know why I didn't pick this card?? GAG... that's why. I just thought it turned out TOTALLY ugly. I just dislike it for so many reasons, I just could not, in good conscience post this as my final card. It's just too UGH-ly for words. I even tried so hard to put in my stitching element on the right hand side of the card, and it just looks like I stepped on it with spiky shoes or something. I mean, just really don't like it. And the colour? What's up with the muddy colour?!

SO!That is why I made card #3. Which I adore and had such a great time making (you can see I chose some brighter more fun greens and yellows for this one... the last card was too pukey!) But does it officially classify? I will let you be the judge.


And there you have it! The epic long explanation of why I made three cards instead of my required one and what I learned in the process. I LOVE graphic. I LOVE simple and I can't necessarily differentiate between the two! HA!

I hope you try out the challenge this week over at The Card Concept. I would love to hear how it goes for you. Are you drawn to more than one style? Or do they all blend together? So drop me a comment if you have time. Which card do you like best? I'm excited to see how you navigate the challenge!

Thanks so much for joining me and taking the time to get all the way to the bottom here, which is a LONG way from the top ; )

Hope you have a great day!
xoxo
k


CASE Study week #2


So last night I was browsing blogs and realized I hadn't gotten to create a card for the second week of the Case Study Anniversary celebration and I instantly thought.... its 11pm, by the time I wake and do it tomorrow, it will be too late, so it ain't happening'.  Boo-Hoo! 

Then I thought... why admit defeat?! I want to play! 


So I decided if I created out of my ENORMOUS stash of painted/diecut/stamped things that just sit there most of the time, it would pull together in no time flat.  Well, it pulled together... fairly quickly, but not as fast as I thought it would! So much for my theory!

Here is my card... it is by no means ground breaking but it was a fast fly by my pants kind of a card, so I don't think it turned out too shabby. What do you think:


I was inspired by Maureen's card here.  Her's was so nice and soft and lovely. Again, I seem to have forgotten about the soft and lovely part for my card ;)

I had a bright pink panel that was watercolored with distress inks that I ran through the Cuttlebug with a Taylored Expressions cutting plate and then made it into a circle with a Spellbinders die cut. I had the other pink and white circles cut from a crazy card long ago. I die cut the vellum banner. Sponged a scrap piece of white for behind the banner and added sequins, and this card was born.


Now as for my photography, well there is just no excuse. Plain and simple. Gotta run this morning and have only a bit of time left to post so no fancy-smancy stuff today. Just my camera, my arm and some light from the window. So do with it what you will!

Thanks for stopping in today. Head on over to CASE Study for their anniversary celebration. Lots of fun to be had!!

xoxo
k


Aug 19, 2014

Paper Wings Productions Technique Tuesday


Hey there! Today I am over at Paper Wings Productions blog with a guest design post for their Technique Tuesday!


Join me for a step by step Iron-off embossing technique. Go check it out!

And after that, visit The Aviary, for a bit of a shop around. They have some great stamps and products that can add a lot of style to any project you are creating!


Thanks so much for checking in. Have a good one!

xoxo
k


Aug 16, 2014

Celebrate with Tim Holtz Stencil


Hey, Howdy HEY!  Happy weekend to you all.  I picked up this new stencil by Tim Holtz called 'Doily'. I was wandering the isles of my LSS (danger Will Robinson!) and WHAMO! It smacked me right between the eyes and begged to be carried home. I could only oblige. 

Check it out:


I wanted it to create a vintage-y, lace-y feel so I opted to use embossing paste tinted with some Fine Linen ink by Papertrey Ink.


It looks amazing after you peel it up. Do any of you gasp when you stencil? I LOVE the reveal! Makes my heart jump.
Ok, well, I couldn't quite let 'er be, so I decided to sprinkle a little bit of  Liquid Platinum Embossing powder over the top.  But I was sad to lose the linen colour so I opted to not completely cover the entire panel.

And really, it's hard to see the linen colour still, so I am happy to know that no matter which way you go (embossing or NO embossing) this stencil will make your project look great!

I had these Rosie Posie flowers from Papertrey Ink stamped up and sitting on my desk. I have this special place I put things that I think I might actually use on something else. They are always in the way! And thank heaven, these flowers only sat around for about 2 weeks before being used! That's actually a record. Usually they waste away. I have this unsightly stash of things stamped/cut/blended/stenciled that need to be put to use. I think I will try a card a week using up my stash and if these things are not gone in a few months, then out with them!!


Ok... Last but not least, the matte copper card stock you have seen before and of course the Little B die cuts. I love both of these things! You will be seeing much more of them I am sure. 

Being out of the states, I am getting creative about where I find my crafting supplies and also much more flexible about what is deemed a 'crafting supply'. I would have never thought to look at the poster board section before. Which now that I think about it, is just plain silliness. It is paper, after all. But I am so glad I did! The copper was such a lovely find.

Thanks for stopping in today. And thanks for all your comments! You always make my day!
have a smashing weekend,
xoxo
k

Aug 15, 2014

Runway Inspired Challenge #65 Loius Voutton


Today is Runway Inspired Challenge! This week is sponsored by Altenew!!


Here is my take:


I added in some Wink Of Stella for the flowers, and lots of embossing. All Altenew Stamps which are my favourites right now.

I also added some score lines along the top half of the card because I loved the detail on her pants. It seemed similar to me and I just thought it would add a nice touch.


And as an added bonus, here is a different card. Same design and style but different products (ahem... I realised after it was made that we were to use Altenew stamps so I did a revamp and made the other card. I'm glad I checked and re-checked again)

Bonus card!:

Thanks for joining me today and for all your comments. You are wonderful!

xoxo
k

Aug 14, 2014

Stretch Your Stamps 2: Bonus Day!


Ok so I just skipped from day 2 to day 9 like it ain't no big deal. I'll get back to the others, I'm sure of it.
Today's card features the technique that Kryssi Ng featured over at Stretch Your Stamps 2. I love this technique. I think I will be using it quite a bit. I got a little splotchy with it, but what I love is that there really isn't any rules. You just kind of let the colour run where it may. Kind of like undoing your top button while eating at a buffet. Just let that pressure go.  Aaaahhhhh.... 


I totally forgot to use water-colour paper and my poor card stock was starting to suffer! But for the most part it turned out ok. I had originally had this as a one layer card, but after the water soaked in, and my paper started to crumble, I had to get creative.

I cut out the top panel right under my streamers and popped it up for dimension (and support!) Then stamped and embossed my sentiment on the original card base. Added a balloon and some string. All Mama Elephant Stamps.


I know not everyone is taking the class, and maybe you are tired of hearing it, but it really is a great one!

Thanks for checking in and for all your sweet comments. I love hearing from you! Thanks for taking the time to say hello!
xoxo
k

Stretch Your Stamps 2: Backgrounds and Perfect Pearls

I realise now why I am so far behind on this class. It's because each technique is so amazing that I want to try it and then I just can't help but share it. It's a sickness, I guess...

This card uses Perfect Pearls. Something I haven't used in such a long time that they have turned hard as rock. Had to chisel at those babies to get any powder out. But they do make a fun background.


I die cut my circle and laid over my die cut sentiment. I love this font. It makes me happy. ETA: The paper I used to die cut is a matte finish copper paper that I found at my local art store. It actually comes in a full poster sheet. So it's poster board and lovely! They even had matte silver and gold!


That's all for now. I have more to show, but later. I needed to put them all in different posts so I can add in the links... is that correct? Someone out there help me if I am wrong and putting up more posts than I need to! Otherwise I will have so many Stretch Your Stamp 2 posts, you might get a tummy ache  : )

love to you
k

Stretch Your Stamps Day 2...still!?


Boo-Ya! Day two keeps getting repeated apparently. I swear this is the last one. Technique is emboss resist with Distress Inks.  I stamped my background with a border stamp. Heat embossed with white. Don't distress inks make you want to sing!? I want to shout hello from the roof tops with this card!


I followed Laura Sterckz's technique. Her cards are always sweet and pastel and soft. But for some reason when I do it, it just comes out intense... it's just who I am I guess. (My mother is probably laughing out loud right now!) I really tried Laura, I promise! (I will try it again, but I will refrain from posting).


That's all for now. Moving onto day 3 since technically we are on day 10 or something like that. Seriously! I'm not generally a slow mover, I guess I'm just enjoying myself ;)

thanks for stopping by.
k

Aug 13, 2014

PTI Make It Monday #176


Hey all! Just stopping in to share a quick card. I got a chance to participate in the Make It Monday challenge over at Papertrey Ink this week. You can check out the challenge HERE. They are in the middle of a release and things are looking purdy good over there. Oh, my poor bank account!

Ok, this weeks challenge is hosted by Laura Bassen and is all about embossing paste backgrounds.

Meet the card:

I made a stencil using a PTI background die cut and shaded my embossing paste with three different shades of yellow and orange.


The thing about embossing paste is you can't stamp a sentiment on it, but also you hate to cover up the background with an actual panel of card stock, so enter in: Vellum!!

I have been in love with vellum lately. Maybe you have noticed? It looks so great especially when heat embossed. Its versatile and lovely! I stamped my sentiment and bee and then heat embossed it. Colored in the wings with some yellow Copics and Wink of Stella and then added a button. On the sides I added some score lines for a little interest but in this photo, you really can't see it! So oh, well.

That's all for today. I'll see you later this week with more fun things to share.
Thanks for stopping by!
xoxo
k


Case Study 4th Anniversary Challenge + SSS Kids Challenge

Hey everybody. Today is a double bang post. I feel like there are so many things to participate in, i can't decide which one to do first. Then as I'm checking things out online, my list gets even longer and then I usually got to bed and forget altogether what I wanted to do until the last minute and then its a mad dash and double posts!

Today I wanted to share with you my challenge card for the first week of the Case Study Anniversary. I was inspired by Laura Bassen and HER CARD from the blog hop (seriously, who's not?) I love when she does her sponging with inks. It seems too fun not to join in. I actually made two cards. the first one was SO messy, I cannot in good conscience show it to you. I used some Tim Holtz Specialty paper and that stuff is so slick, it does not take much ink to make your mark. And in fact, I made my mark ALL OVER the card, so while it still got made, its the kind you send to your mother because you know she will love it regardless ; )

Ok, but the other card I made is here:


I found some new stencils at the art store! Can I get an AW-YeaH! This one is by Plaid. I LOVE it! I used three shades of Distress Inks and blended them all up nice and smooth. This Tim Holtz Specialty paper is really cool and takes that ink like buddah. So smooth like.  I die cut my hello using a technique I saw over at Damask Love (I think.. sorry Amber!) A quick little thing to help spread your die cut from end to end. Inside I added some Wink Of Stella to help the hello shimmer.

And just because I'm in the mood, here is my first card I made. Very similar to Laura's card, except for super messy! I only show it to you so you can be sure that I am NOT a perfect crafter and not afraid to show it. I can be sloppy and distracted, and it's just not pretty.

Ok, next challenge is the Kids Challenge over at Simon Says Stamp. I asked my older boys if they wanted to participate and they both quickly said 'No'! So I roped my little 4 year old into it. He LOVES art. He loves to paint and colour and especially cut. He will cut up the whole house if I don't watch him. So today I tried to suppress my inner 'control freak' and let him hang around the office. Which he does anyway, but this time I didn't try to stop him from tearing through things. I will be honest, it was difficult for me to create while he was in there. I just couldn't concentrate! But it was fun to share space with this little guy. He's just so pleasant all the time. 


I had to help him stamp, because it was his first time! He showed me where to put all the 'guys'. He said the "super hero (i.e. vampire) goes at the top." He really liked it. My favourite was when he said "Lets do a bats, cause bats is awesome." Then while he was colouring he said, "Do I have to colour all this?" "Why?" to which I told him, "Because we get prizes if we win"!! Ok.. that's not the only reason I roped him into this, is it? 


Actually this picture is why I did it.... Cause look at that mug! He was so excited to take pictures and wanted to show his team spirit. Can you see his hand? That was from him painting his entire arm today at a friends house. I told you he LOVEs art....all over his body!  So this is his card! My cute little guy with the crazy red curls and sweet smile. I love him so...

Ok, that's all for me today. I must go to bed. I have an early morning bus ride to take big boys to school. Can't wait until my husband gets back into town so he can start doing it again! I'm definitely ready for a break (I'm such a whiner.. I have only done it a handful of times, but riding a bus for an hour at 6:30 in the am, just plain stinks!)

Thanks for stopping in today.
xoxo
k


Aug 12, 2014

Looooove You: Ink blending


Hello there!! I have fallen deeply in love with Distress Inks, have you? They blend like a miracle on paper. Here is one of the first cards I did with some blending. It's been sitting in the archives waiting to be used. And today, is that day!


I have since picked up 4 of the mini cube Distress Ink sets. I love the cubes! They come in great colours and are small enough that they don't eat up a lot of space in the studio (which is already limited!)

I masked off my water-colour paper to create my white frame and blended my ink in the centre. I then did a little spritz-spritz to add some ink movement.  I then stamped over it with my Origami stamps (Mama Elephant Stamps). I mounted it onto a Plum Pudding (PTI) card base and called that thing good, after adding some sugar dots, of course. You can never go wrong with some sh-sh-shugah!


That's all for today! I wanted to do a quick pop in to say hello. And since my kids are out of school for most of this week, I don't see a lot of crafting time in my future and pulled a card to share just so I could come and see you.  Cause I love you like that ; )

How are things? Thanks for all your comments and love. I hope all is well with you and yours.
Thanks for stopping by!
xoxo
k

Aug 9, 2014

Create A Smile Stamps: Take 2

Hey! If you read THIS POST, you know that I am applying for a guest design spot over at the new stamp company Create A Smile. You can check out the post HERE.

And if you have some time, you should apply too! Christine has some really cute critters and designs that are fun to work with. Go check it out!


Here is my next card up for critique:

I'm in love with this dodo bird. Isn't his face so funny? I love it! I wanted him peeking out of a card because I love his face so much and felt like he was saying, "hey man... how you doin'". But of course I don't have a stamp that says that. (hmmm, stamp designers out there...help a girl out!) So I opted for a simple Hello.  

Here is a close up after I coloured him and added his plumage! I used some purple and blue coloured pencils to colour him in and then added some Glossy Accents to his eyes.

The background was made using a mask and embossing paste that was tinted with orange ink. I adhered that first and then tucked Mr. Dodo behind a washi covered card stock strip. I die cut my sentiment a few times with a mat silver paper layer on top and added some sequins.


And here is the funniest part.. look at MY dodo bird!

Isn't that funny? He loves to help me set up the cards when I take pictures and he just happened to be in the same stance as Mr. Dodo! I don't know if he did it on purpose, but I love it so much that I had to share it. Thanks for indulging me. I love this baby of mine....

Ok. That's all for today. Thanks for stopping in! Don't forget to check out Create A Smile! And if you have some time, scroll down through this ol' blog of mine, cause there are a few posts that I sent through in one day and I don't want you to miss a thang!

just keep on stamping,
xoxo
k

Create A Smile Stamps

Hey! Fancy meeting you here!  Glad you stopped in today. I am applying for a guest DT spot with a new stamp company, Create A Smile! You can read all about the Guest spot HERE. You should join in too!  


I wanted to show you some of their cA-ute stamps. I actually used their digi-stamps which were perfect because you can resize them however you want to create your card. Here are my little monsters all coloured up with some glossy accent in their eyes (kind of like I had the other night!)


And here is my card:

I wanted some monster cheerleaders! Aren't those the best kind? The banner sentiment is also a digi-stamp. I used some confetti stamps from my stash to create the top background and then popped up all those monsters with dimensionals to make my pyramid. I coloured a toothpick with a Copic and cut it in half for my banner. I thought that was purdy resourceful o' me!  I also added some shadow under my monsters using a T1 Copic.


Fairly simple, but fun nonetheless! Check out their blog and store HERE. Christine makes some pretty cute stuff, huh?

Thanks for joining me today. I will be back with one more to share.

Until then, keep on stamping.

xoxo
k


 photo copyright.jpg
envye template.