May 29, 2014

Gold Hello


Hey there!! After coming down from this last crafting weekend, I finally found myself today and promptly realised that I missed you! So here I am, back to post.

I'm sharing this card, which is already on my Pinterest and FB pages, but I don't think I have archived it here, so I thought I would real fast.  But honestly, I'm just here to say "hi"! ; ) How are you?

This is one of my first watercoloring attempts and for some reason I like it better than all the others I have done since then. Why does it work that way? Beginners luck and then what follows is the obvious fact that I can't water-colour. But I am trying to remedy that now! Lots of practice, that's what it takes. Boo-Hoo, poor me ; )


Ok, first I started with some water colour paper and used my water-colour pencils to wash the background. Not too much blending because I love the stripes of colour. I waited for it to dry and the splattered it with black, which is always a dangerous mission! So many black splatters flying at once! I was lucky enough for it to not make too much of a mess but I did loose a few envelopes that I had sitting on my desk. I always learn the hard way! And they seem to have landed pretty kindly on my paper too. Whew!


And for the sentiment I used the Big Hello die cut by Simon Says Stamp that is all over the blog-o-sphere. But its gorgeous, so how can it not be!? I also used a technique you see a lot... stacked die cuts. Four cuts in white and one in gold. I searched all over Singapore for this gold foil card stock. Finally found it and now I am out again.... why didn't I buy more when I had it in my hands? Probably because its just too darn expensive here. I need a direct shipping tunnel from SSS to me minus the shipping costs. That would solve a lot of issues for me, I think.

Ok. That's all for today. Just wanted to come say 'Hi' and I was taught never to come to a party empty handed! But really, is this a party? Maybe, maybe not, but I love it all just the same!

Less than 12 hours left to vote for Gallery Idol! So head on over and get'er done! Hope I get to have another crazy crafting weekend!

Thanks for stopping by. 
loves,
k


May 27, 2014

Gallery Idol 2014 Round 2: Die Cutting!

Hey there! Thanks for joining me for the next round for Paper Craft Gallery Idol 2014! It has been a cA-ra-Zy crafting weekend for me.

Round 2 is all about Die Cutting. So I pulled out the 'ol die cuts and went through just about EVERY one I own trying to find something different and unique to do with them. 

2014 Gallery Idol Competition


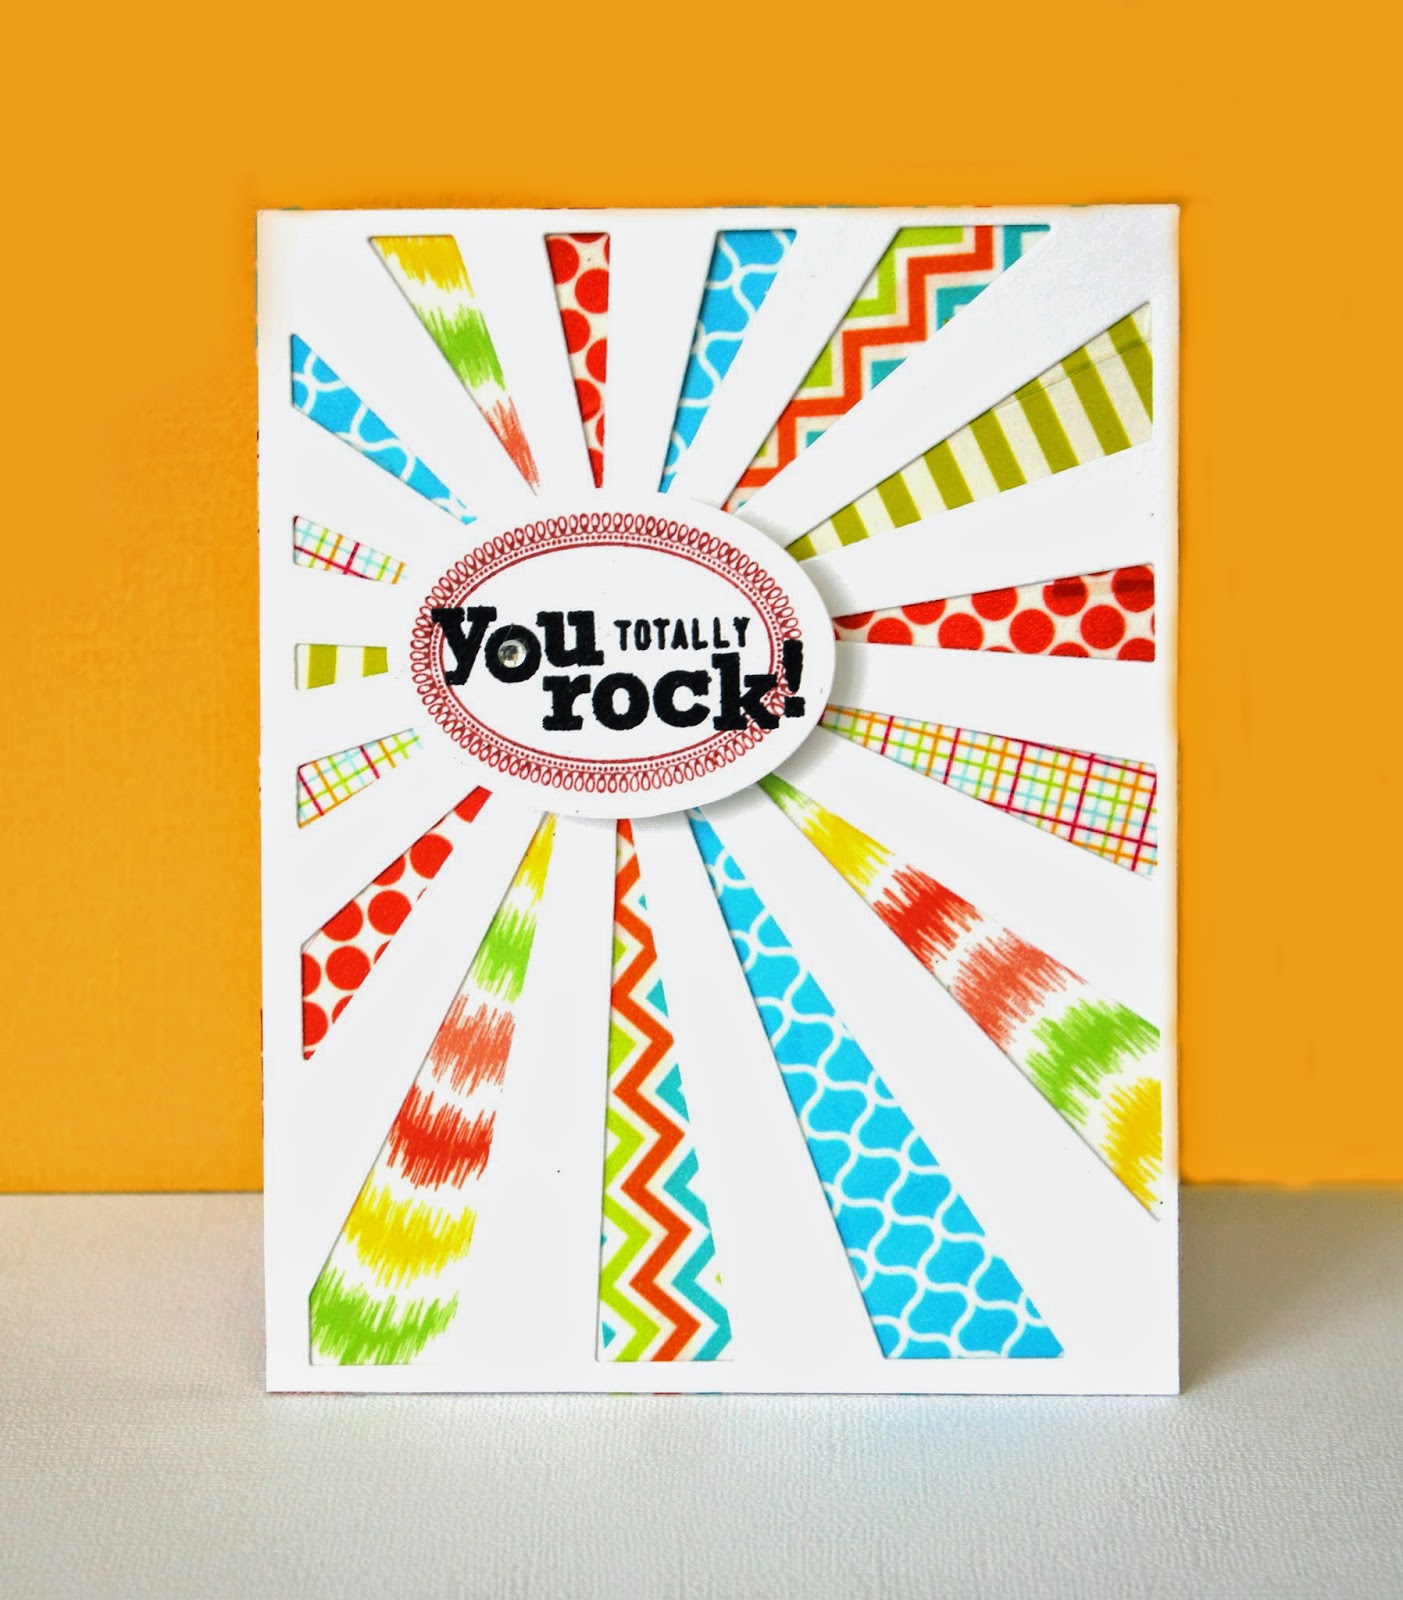
Here is my submission:

It dawned on me that even with all the die cuts I own, the most versatile are these simple shapes. They have no overt purpose, therefore they can be used for anything! I used them to create centric circles of card stock. I found some inspiration on Pinterest. I was originally looking at mosaic designs and there were a few using centric circles that were really inspiring. I wanted the circles to look like they were layered and woven together, so I opted not to inlay them, which I tried at first but it just didn't look how I wanted.


Let me show you what I did. So if you want to try it yourself, you have a few pointers to help you out!

First off, I used Spellbinders circle die cuts and laid them inside each other being sure to get them as close to centre as I could.

Tip #1 is to attach all the die cuts together with a strip of washi tape across the back. The tape keeps everything inline so all you have to do is cut, and pop out card stock before cutting again. Once you get it all in line, the cutting goes fast.

I actually cut my pattern in white first, because I was originally going to stamp on the circles, which I ended up not liking. But I am going to show you the pictures I used when I cut them out of white. Here is the first set cut. It's easy to pop these out without destroying your die cut stack.
While you may be thinking, "Oy! What a waste of white card stock!" (which I may or may not have said in my own head a few times ; ) it ended up turning out to be a good thing because it helped me with placing a layout that would work for my card front.

So tip #2: Take the time to plan your layout.

I die cut about 10 sets of circles and moved them around varying the sizes, until I found something I liked. You can see here how laying circles on top or underneath others makes a nice woven effect. I did do an inlay version and will show you that another day. You can decide which look you like best! It is so fascinating to see how inlaying your die cuts can change the entire look of your card.  I wanted them to feel like they were wrapping around each other. When you inlay the die cuts, it flattens out the image and makes it less, well 3D. 

Tip # 3: Make a Pattern. 
Once I liked where they were I took some tracing paper and outlined the circles so I knew where to lay them back down when it came time to make the card. This works well since one circle off changes the entire look of the design.

I chose 7 colours of card stock. Again I die cut the centric circles out of every colour and then a few extra just in case. ; )
I then started mixing colored rings around making sure not to have the same colour on the outside ring of any one circle group.


Once I liked the colour combos I glued them to some thin copy paper and cut out the circle group. I was then ready to place them back into the order by laying down the tracing paper and putting everything back into place where I wanted. Then I just lightly slipped the paper out from under the design. It made it SO much easier to put back together! Sometimes the steps that seem tedious end up saving you a lot of time and creative energy in the long run. I recommend it!

Once they were all where I wanted them, I held them down with one hand and just put little dabs of glue under each one to tack them into place. Then after they were tacked I could really secure them down without worrying about them shifting.

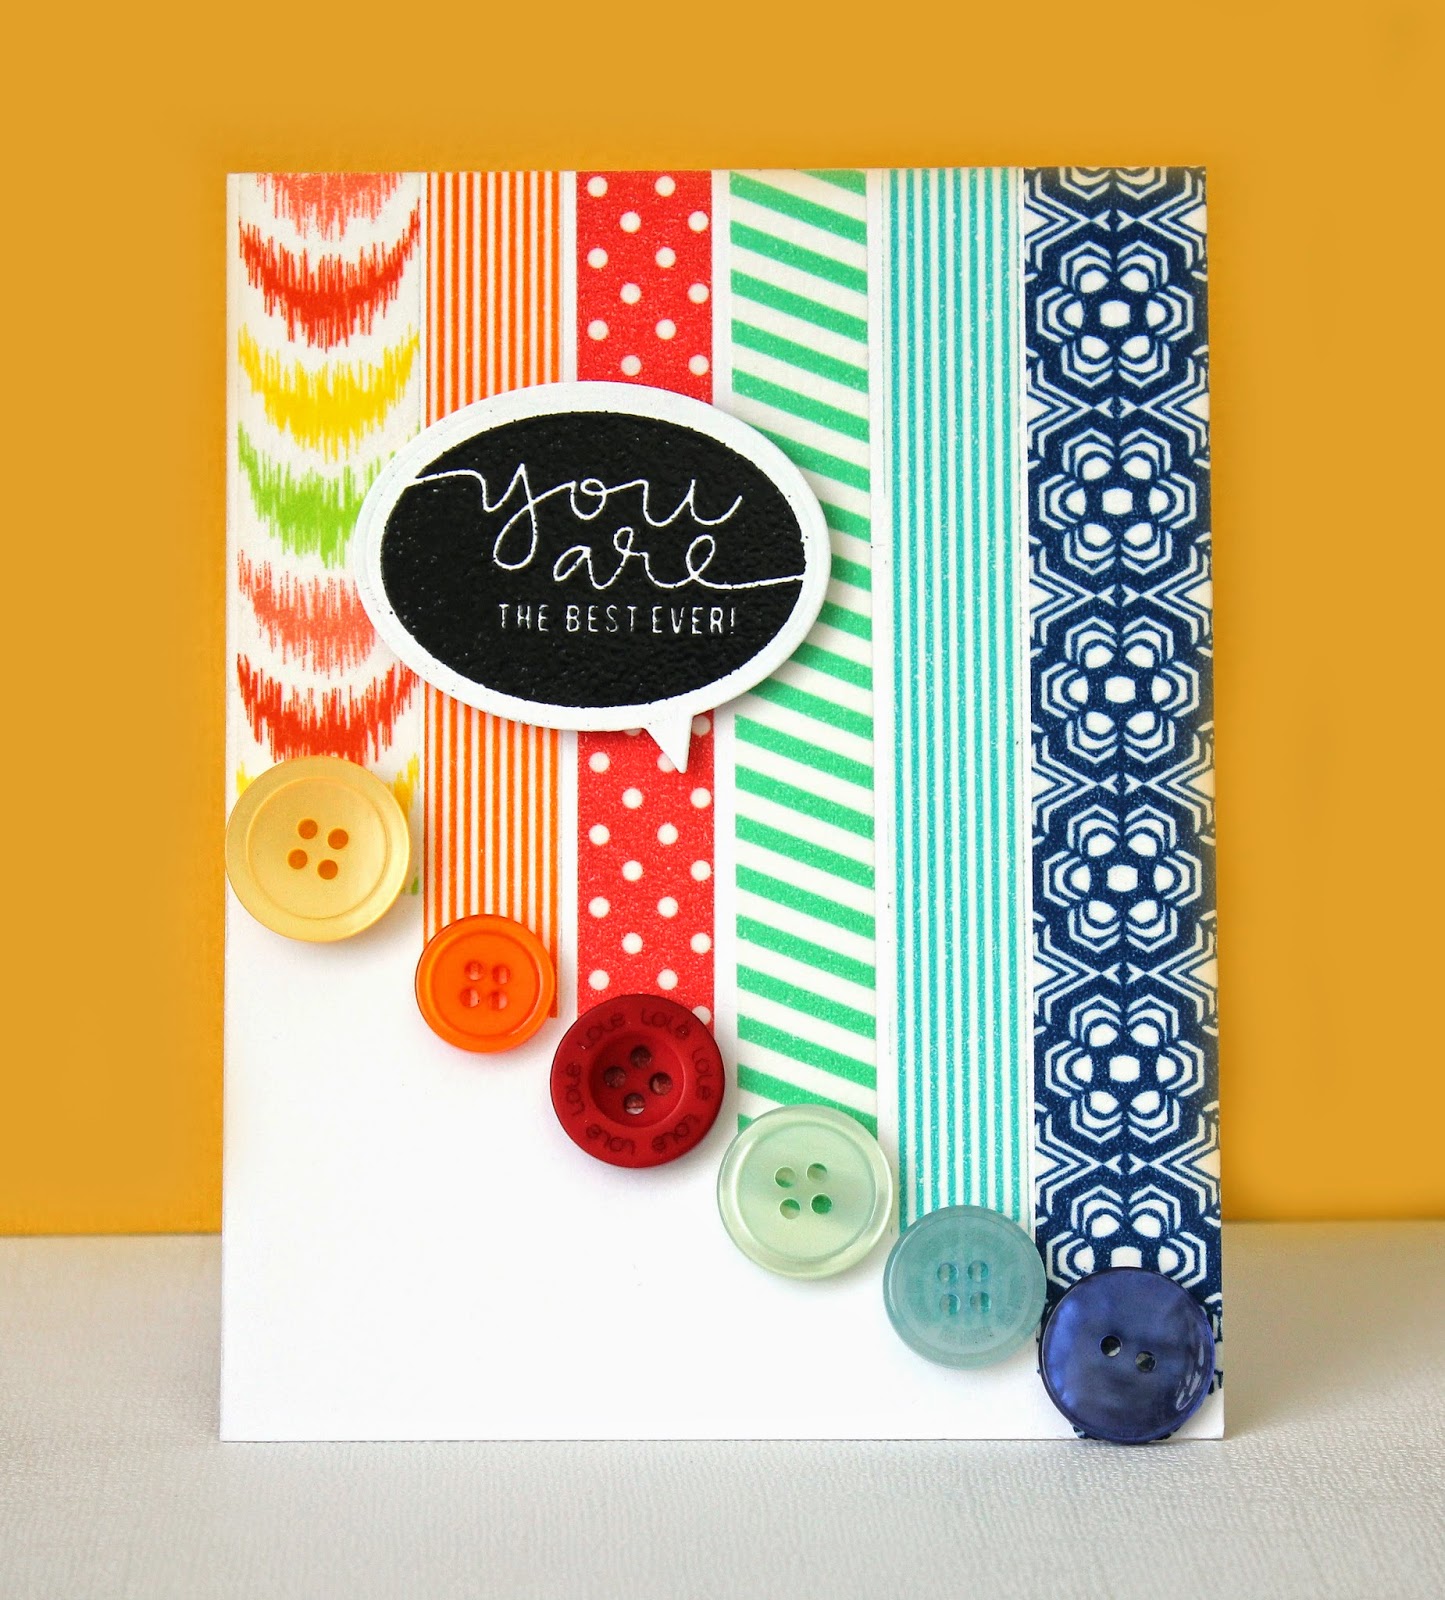
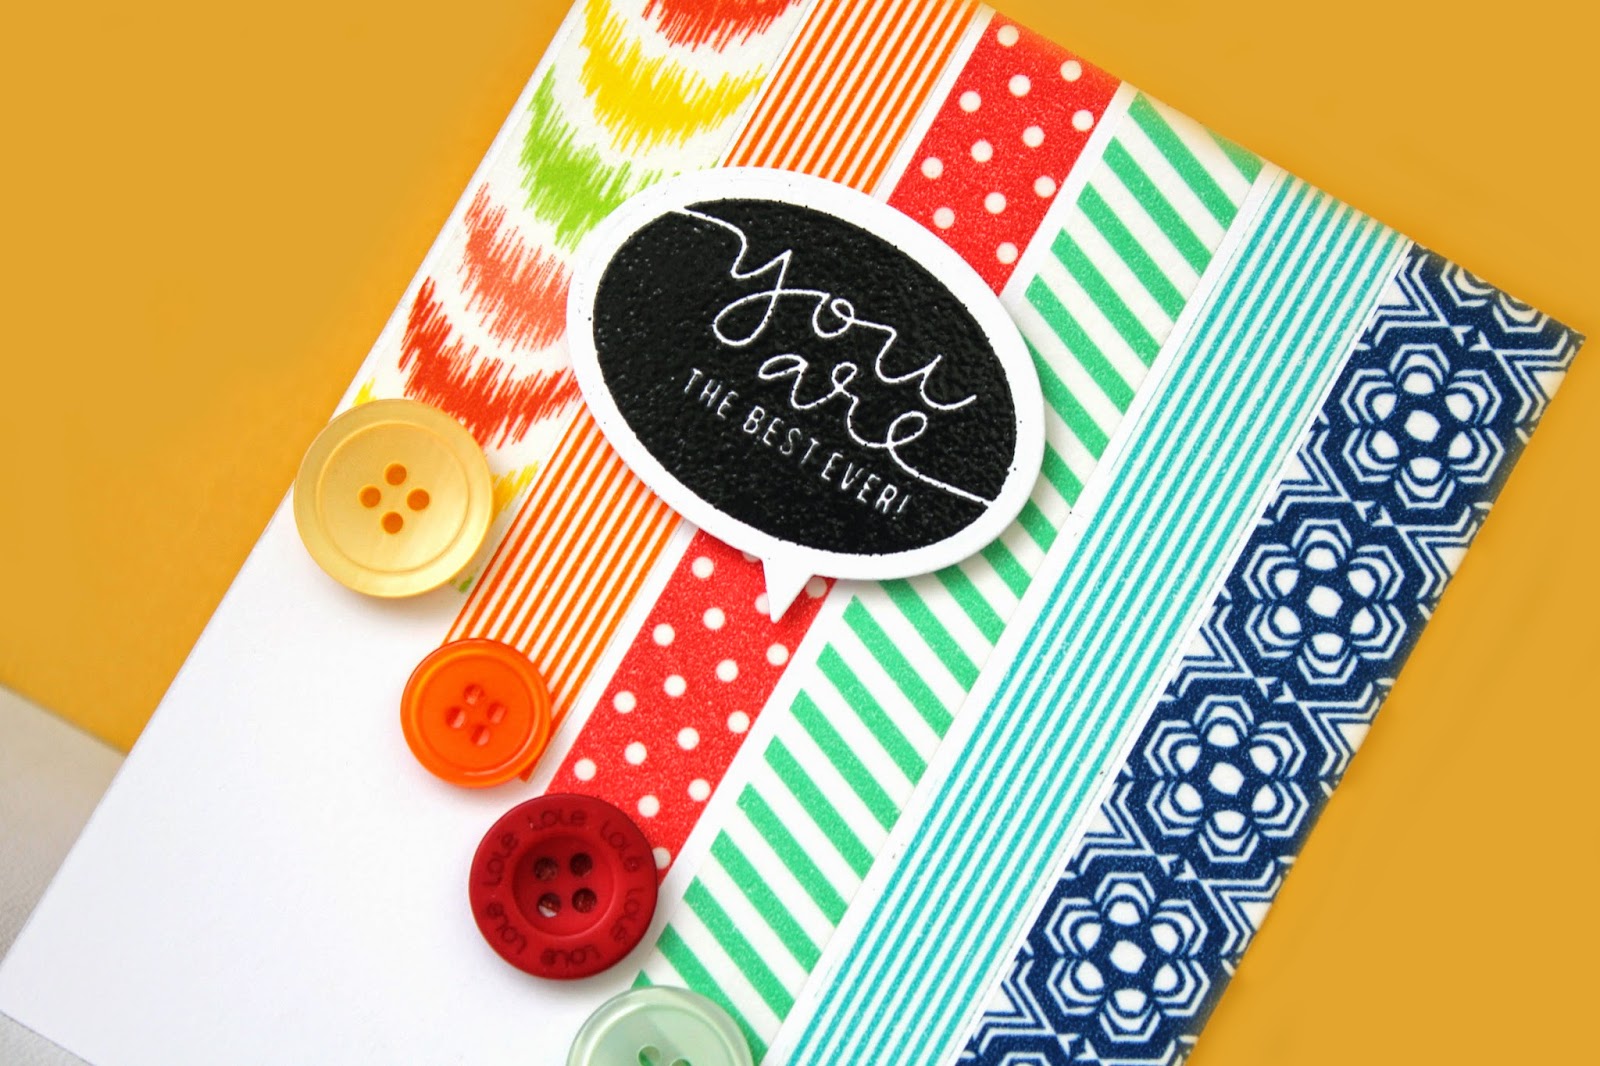
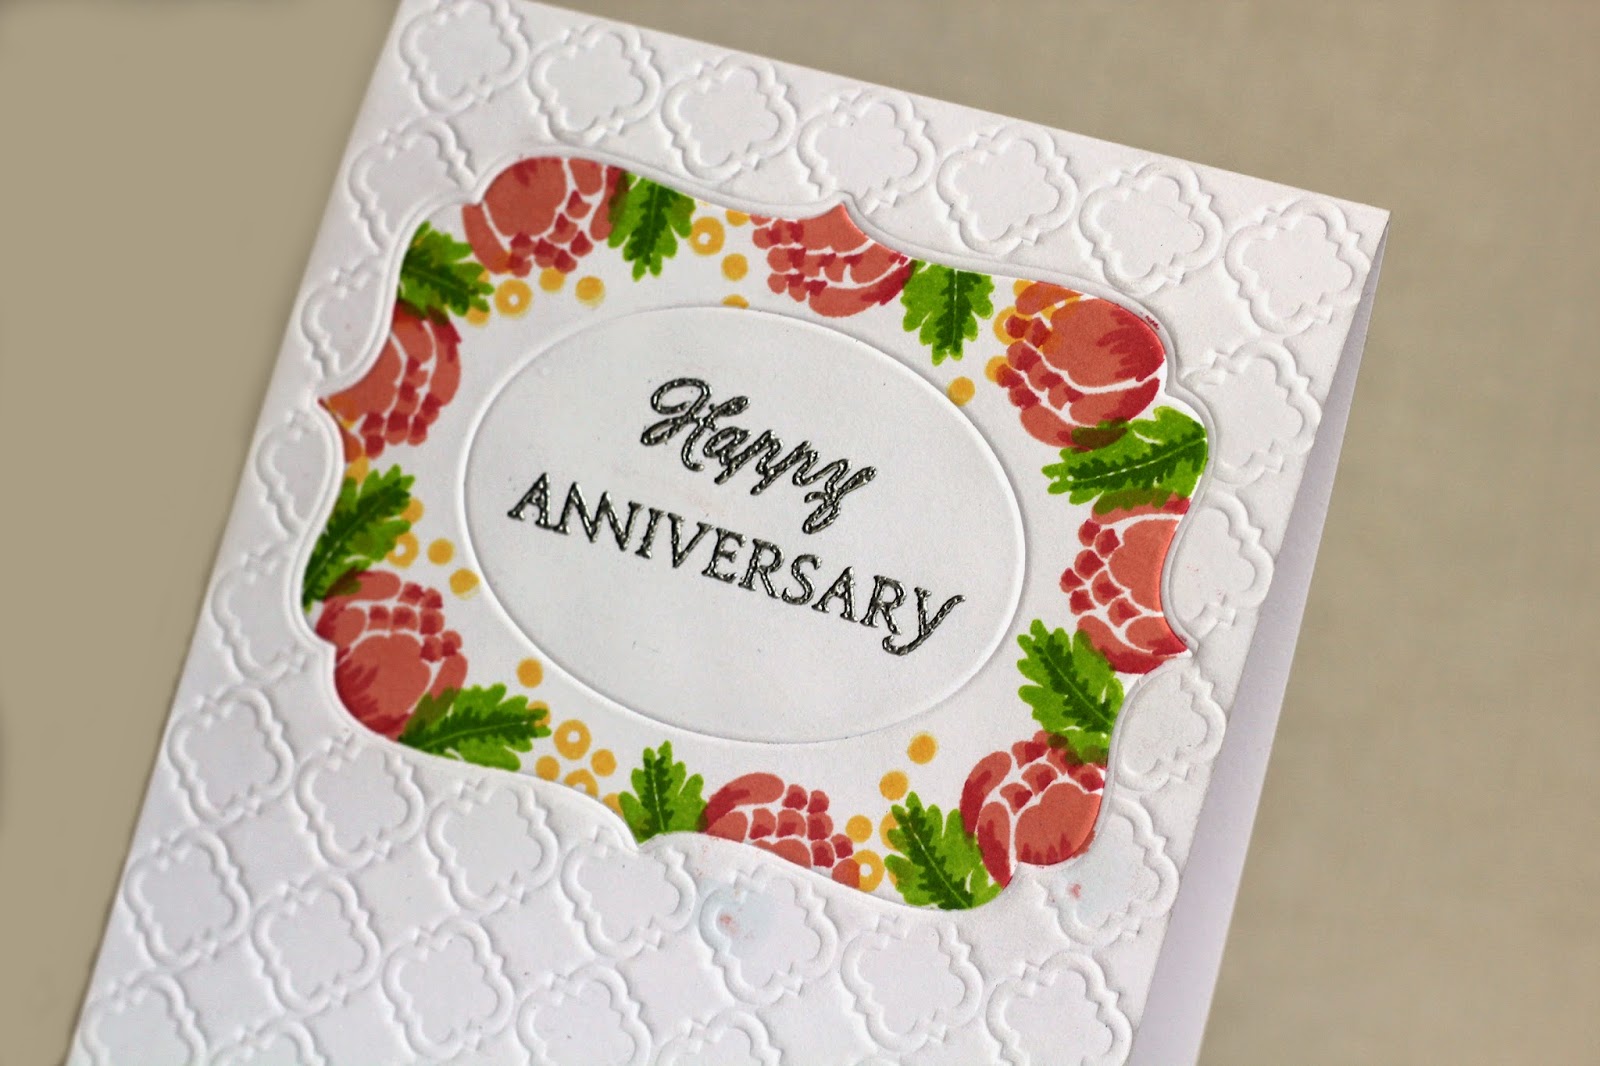
I then heat embossed a sentiment on one circle. This was the 5th try on sentiments! I was really starting to sweat that one out. Pure white was too stark a contrast and then the embossing powder was going renegade!  I need an embossing buddy. How I've lived this long without one is beyond me!

I taped the panel down to my card base and trimmed the edges.


This is my final final final card! (Don't ask how many concepts and prototypes I went through to get here, not to mention runners tape!) I stayed up most of the night trying to work this baby out. But now that I know how to do it and what I like, I could whip one out in no time flat! And you should try it to! It is such a striking look and so fun to create.

Now, I have one truth to tell, and it's this.... this card is on the big side. And I mean like, Big big.
Its 4.25 x 8.5!! And that's because I wanted to see lots of circles so I had to make it big. I just had to! This is a knock you off your feet--hand deliverable--group card, kind of a card. You know? And I like it... that's the most important thing, right? ; )

And a big shout out to my hubby Patrick. He stayed up with me all weekend long talking about concepts and design. He's a designer by trade so he is always showing me inspiration and cheering me on in what I do. This card only exists because of him. He is a perfectionist and a little bit of that rubbed off on me this weekend, and I'm so glad it did! He has taught me that to be good at design you need to take more time to prep concepts and pay more attention to details when crafting that concept. I tried to do that today. I hope you like it!

And if you do, I would love it if you cast your vote for me! You do have to register to vote, or if you already have a Paper Crafts account you can use your regular info. Once you are registered you can use it for every round of voting, which I know any of the contestants (including myself) would appreciate!

You can vote right HERE:
http://www.papercraftsandscrapbooking.com/contests/gallery-idol-2014

Or click on the link at the top side bar of this page. Voting ends Thursday at noon.
Be sure to check back friday to see who will be moving on!
Good luck to everyone! They are each such amazing designers and it's been great getting to know them this weekend.

Thanks for stopping in... (hope you made it this far.  Whew!  That's a big post!!)

love to you and yours
k


Other Supplies:
Papertrey Ink Carstock: Pure Poppy, Raspberry Fizz, Plum Pudding, Summer Sunrise, Harvest Gold, Simply Chartreuse,
Stampin' Up Bahama Blue


May 25, 2014

Papertrey Ink Blog Hop: Aqua and Melon

Hey everybody. I have been stalking the clock for a day now waiting for this blog hop to start because last time I missed it due to my brain miscalculating the time change. Seriously, numbers are hard for this brain of mine!

I remembered last night as I was working on other things (at 1 in the morning!) and I freaked out thinking I had already missed it! It was technically the 25th for me already and I jumped out of my seat before I realised it was still the 24th for those in Papertrey Ink Land.  Whew! 

Luckily, I am here and ready to go (thanks to an alarm on my phone. Seriously people, I mean business this time!)

Ok, this month challenge is to use the colours Aqua and Melon. Work it together and make some magic!

I made two cards cause I liked it so much... 
Here is card #1:

This card came together pretty much how I imagined it (except for the other 2 attempts that were done wrong- sheepish grin ;)  I had to work to get it the way I wanted it. Anyone else LOVE this big bold sentiment? I love this stamp set but I have a heck of a time getting them to stamp straight. Hence the 2 other tries, and this one is barely passable!  I am starting to think one of my eyes is crooked. Is that possible? Probably not, but it sounds like a good excuse, so I'm going with it.

I stamped my flowers in Melon (of course) and Terracotta Tile. Leaves are Aqua Mist (I play by the rules people!) and Ocean Tides for the shading. This card uses the PTI sets Rosie Posie, and Rosie Posie II. 

I have been using a TON of white card stock lately. I love how clean and fresh it is. So I popped the panel up on a white card base. And BAM! Double white goodness. 

I stamped the sentiment in black and added some pearls. Do people still use pearls? I didn't have the right sequins, so I stepped back a trend or two and used what I had. Aaah, that feels good, doesn't it?


After finishing the first one, I just wanted to keep going. I kept the colours and the stamp set but  switched things up a bit. I LOVE background stamping. I love to see it take shape and bring a card to life. In fact I think it was Nicole Heady who opened up my world to background stamping all those years ago. I remember gasping when I saw her make a OSW (one sheet wonder). And from that moment I promised I would do it myself, or die trying.  
So this whole thing here... the cards, the stamps, the paper craft addiction... I owe to Nicole Heady and Papertrey Ink. Thank you so much you guys! I love you!!

Ok, so back to the point of this whole post: I used the honey comb stamp that goes with the Rosie Posie stamp set and stamped it with Aqua, Melon and Terracotta Tile. 

It's a little hard to tell but I colored in some of the honey combs with a Gelly Roll glitter pen to give it a bit of a shine. I added some hexagon sugar dots from Prima to finish things off.


And last but not least, I know some of you have one of these in your life:

Yup, be it a boy or a girl, they sure love posing when there's a card around. The funny thing is, I remember when my oldest was this age and doing the exact same thing. Running around in his jammies, flashing smiles at the camera right when I pushed down the button. What a bunch of funny hams I have.

Ok. That's all for today. Hope you have a great blog hop and a great weekend!!

loves to you and yours,
k


p.s.  Did you check out the results for Gallery Idol? Can you believe it? Little 'ol me is moving on? What? What?!  I seriously can't believe it! Pinch Me! Honestly, I had to rub my eyes and read it again.

But I am so very very excited! (and so very very nervous). I have been crafting like a crazy woman all weekend and still don't like what I have to offer. Oh, Heaven help me. I told my husband he would see me next week and locked myself in the office for the day. He kept coming in to give me pointers. Oh, that husband of mine. I do love him so...

May 22, 2014

Mama Elephant, Die Cuts and Inks, OH MY!

Hello! Happy day to you!  I wanted to share a card with you today. This is a funny story, and so I'm-a gonna share it.... I made this card for a design team submission, but then it turns out that the call was really really old and I didn't realise it until just this week! So, while that's kind of a bummer, I'm really glad I made it anyway because I had a lot of fun making my own stencil with a SSS die cut and then inking with Distress inks (for the sun). It turned out really vibrant and while it might be a bit dark, I kind of like how it jumps out and grabs ya!
I used Paper Smooches edge die cuts for the grassy hills and inked those with some Mowed Lawn distress ink. I put a smaller hill in the background and left it lighter. The cloud die cut is actually a thought bubble from Simon Says Stamp but I just left off the little thinking dots to make it a cloud and added some more ink.
I coloured that bunny with some Copic Markers, but I think next time I will try coloured pencils instead. It just made him too dark for my taste. I wanted him to pop a bit more, but I did give him a little bowl cut hair do, if you look close enough. Kind of dorky. But cute!

Thats all for right now. We are looking at the weekend fast approaching (as well as school break) and I couldn't be more relieved! Sometimes the weeks can bring you down with too many things to do and you need a nice weekend to lighten things up! Unless of course there are too many things to do on the weekend and then your just tired!

Ok, have a great day!
love to you and yours,
k


May 21, 2014

Make It Monday #165

Happy faux Monday to you : )

I'm trying my hand at the artsy water-colour technique highlighted for Make It Monday by Betsy Veldman over at Papertrey Ink. Check it out! This Monday is Artsy water-colour backgrounds. 

Here is my card:


I stamped Strawberry Patch and Wet Paint  on my water-colour paper. I stamped the strawberries/vines/flowers in Pure Poppy, New Leaf and Harvest Gold. And the sentiment in True Black. I then took my water brush and painted in the images with the ink.

I wanted to have a shadow look to my sentiment so I only watercolored the top part and kept my lines all running in the same direction. I like the look it gives. It would be fun to do this with a box stamp and then put something in the centre. Hmmmm, I'm going to have to try that now.

I embossed "your day" and added some score lines around the edges. I have really been enjoying making one layer cards lately. They can really have a lot of dimension and interest, but still be easy to mail! You gotta love that!

Ok, that's all for this weeks Make It Monday. I like the title of the challenge, because its more like, "Will I make it in time? Will I make it at all? Will I make it before my kids start fighting and the stove boils over?" YES! This week, I guess I did!

Ok. Kids say done! So I gotta run.
thanks for stopping by.
k

May 20, 2014

Papertrey Ink Coin Purses

Here's the thing about living over seas.... postage is insane. So that explains why I am just getting these coin purse dies when they were released over 2 months ago. I have them sent to my mom and then sent to someone else and then brought to me. Now, you might wonder how in the world I have set up such a sophisticated personal postal system in order to avoid charges. Well, I guess you could say I have an awesome family. But also, the price of shipping is probably the same once you add in everyone who sent it somewhere else. So what that really means is I'm just super smart at shifting shipping costs and my loved ones are just super broke.  Hmm... I must rectify that soon.


Anyway! Onward and upward. Here are my first attempts at the coin purses. Now, in full disclosure, they took a bit of brain power to match up the zipper die cut but other than that, they came together pretty good. I think one of the things that is so great is the many ways you can decorate them. Most of which I have yet to explore.


I pulled out some other PTI die cuts to make my strawberry and flower. I made them really simple. One layer of felt. One zipper and felt embellishments with simple stitching. The blue purse uses a blanket stitch and the orange purse, the running stitch.
The next go round I want to try fabric and fusible webbing, so I will keep you posted on that. I always feel a bit nervous when it comes to the dies fully cutting. Hopefully the fabric will cut easy. The felt did cut easy once I had my metal shim in there. But I did ruin some felt trying it.
I'm trying to be less freaky about messing up product because I feel like it hinders what I am willing to try. It is definitely freeing me up a bit when I say to myself "go ahead and add/cut/stamp that to try it... you have plenty of product and can do it again!!"


When I make things I need them to go to people or be made in mind of someone. I feel like its a bit easer than creating in a vacuum. So these two purses are going to some good friends that live by me. They are both great moms and great friends! I figured mothers day was a great occasion to give them away. Would you believe these slides were built all from my scrap pile? The die cuts and ribbon. It's nice to just dig through a pile of stuff and come up with something instead of it going to waste. It makes you realise how much you can whip together when you have 20 minutes!

Ok. So that's all. Just wanted to share some stuff that I have sitting around waiting to post. There's always something cooking on my crafting burners, so I might as well share it when I have the chance.
But I have a whiny/sick baby on my hands so I need to run.

Thanks for stopping in! Leave me a note if you have time... What did you give/make/receive for mother's day? My kids made me breakfast in bed (the first time ever!) and I had a couples massage with the hubs. That is one thing that is great about living in Asia! Lots of cheap massage places to go to.

love to you
k

May 17, 2014

PaperCraft Gallery Idol Opening Round

Hey there! I'm trying my hand at this years Gallery Idol with Papercraft Magazine! There is currently an open round in order to be considered for the contest. If you are interested in joining yourself, you can check it all out HERE. But hurry fast, time is almost up to be included. Get your craft on now! They will be picking 20 crafters to keep going to the next round. Wish me luck!


This year's opening round is all about washi tape. Here are my three entries:

This one I took different kinds of washi and taped them on my card base in different spots. I then added my sun ray die cut over the top of it. I heat embossed my sentiment and popped the oval up to give it some added dimension. (all products, except for the washi are Simon Says Stamp).

My next entry was all about the rainbow. I think maybe it's a bit cliche to do a rainbow with washi, but honestly I love rainbow so much, I don't really care how many people do it! I haven't used buttons in For-Ev-Ah, so I thought I would add some today. I don't know... does it feel to old school? ; ) I haven't seen a lot of buttons around the blog-o-sphere lately. But you know, sometimes you have to back trend, right?  Who knows, maybe buttons will come back with a vengeance. Heaven knows I have enough in my stash to keep it going for years!
Again, I heat embossed my sentiment and popped it up for dimension. In all actuality this sentiment was swapped with the above card, but it didn't work for some reason so I put it on this card instead.

And last I have a simple little guy for ya. Some gray and gold washi tape with a vellum sentiment strip thats wrapped around the front. I LOVE this new Wet Paint stamp set by Papertrey Ink. It's just so great. I love using it! I added some candy dots to pull the eye down to the sentiment. That washi was pulling focus way too much. I think I balanced it out ok. Do you?

I believe we have only a week left until the judges weigh in to say who can go onto the next round. It's been so fun already, that even if I don't make it past this, it's ok. But then again, who am I kidding, I want to keep going! Fun crafting every week with a new challenge? Prizes to be won? Who wouldn't wanna be apart of that!


Thanks for stopping in today.
love to you..
k


May 16, 2014

Runway Inspired Challenge #59


Hey there peeps! Just getting a jump on my weekend by doing some challenges! Check out this weeks Runway Inspired Challenge photo:


Here's my take on the photo: 
Now in all actuality, this card is a moss green, but for some reason when I lightened it it took on a yellowy kind of colour. But have no fear! It is genuinely green, in every way, just like this dress!

I used an "oldie but a goodie" set from Papertrey Ink called Guidelines. I use this set a lot. It's really so versatile and lovely!
I was inspired by the black lace on the dress as well as the black strips of fabric that separate the green flouncy fabric.

A big bold black strip with some embossing in silver separates my two panels. I stamped the medallions with Hero Arts black and Papertrey Ink Spring Moss.


I think that's all! I have boys breaking down my door to go swimming so I really must run. I have a few more cards to share, and hope to get back this weekend to actually share them.
Thanks for stopping by. I love hearing from you, so say hello if you have a moment!

hope you have a smashing weekend!!
k


May 14, 2014

Make It Monday #164 Cluster Stamping

Hey there all! I tried my hand at some cluster stamping today for PTI's Make It Monday!

This week is all about cluster stamping! I decided to cluster my stamping but in an organised sort of way which makes me wonder, is it actually cluster stamping? Well, that's a question for the professionals I guess.

Here is my card: 


I masked off my lines to stamp within a masked area. I then die cut the sentiment out of the stamping and replaced it with a solid coloured die cut instead. I was hoping that it would help it pop a bit. I didn't want the birthday to blend in too much so I didn't replace the negative space. I tried it and it didn't look that good, so I left them out.

 I stamped with all PTI colours in the ranges of purples, blues and greens and added a black Happy from Birthday Basics stamp set. The circles used for the cluster stamping was from Rosie Posie II. Mostly because I was looking for some circles and that what has been on my desk for days, so it was picked up. I was trying to craft in a hurry! Which is why my sentiment is crooked : /


But I finally got in a challenge for this week! Yay me!

I love days like today.... I was all booked up for a few things and people cancelled left and right which left me with time to craft! LOVE that!

Hope you have a great day. Thanks for stopping in.

loves to you
k

May 9, 2014

Sketchbook Saturday #121

Hey all! Just stopping in to share a quick card for the challenge over at Iwona's blog.  It's Sketchbook Saturday people! Just one day short of Saturday! I think I missed a few here and there, you know how it goes, but I'm here now!

Here is the sketch:


What. What. What!? More embossing, you say!? Yes, I do say... Here is my card:

And yup, its a double whammy... embossing AND masking! GASP! 

Here is a close up:

I double embossed my card front and then made masks to stamp my flowers. I chose the Rosie Posie (I and II) sets from Papertrey Ink with some Hero Arts and CSS inks. I just got a slew of them and its so fun having new colours to try!

 This card was made for a neighbour who needs to send it to her son. Hope they like it. That always worries me. You want people to like it, right!? Here's hoping!

Thanks for stopping in today.
Love to you and yours
k


Lovely Friend

 Hey There! Stopping in to share a lovely hello for a lovely friend! As I said before, I have been double embossing EVERYTHING lately! Here's just another little thing I couldn't help but run through my Cuttlebug. If you haven't had a chance to try it, head over to Online Card Classes and sign up for Clean and Simple 3. It will change your life. I Promise...

This card was made with two challenges in mind.
Simon Says Stamp Wednesday and the current Curtain Call Pretty & Pink.

Here is my card:


And a little close up. You might not be able to tell but there are embossed diagonal lines on that card base too. The texture is so wonderful. And how much do you love this pink!? I used a blend of Memento Luxe Inks and Clear and Simple Stamps ink. Stamps and paper are from Papertrey Ink. (And anyone else have a doozie of a time getting these roses to line up? I always have to do it multiple times and still.... so crooked!)


I have quite a few friends moving this summer. That's the life of an expat, unfortunately. It's always sad but I am glad I have some cards I can send to say a final goodbye. Just incase I can't really express myself in person (which is usually the case). Cards are good like that. Nice and permanent.

Anyway. Thanks for stopping by today! Hope you are all well.
have a lovely weekend.
k


PTI Make It Monday 163: Envelope Wraps

Hey all! It's been awhile since I have participated in a Papertrey Ink challenge. It's fun to be here! I joined in with the envelope wraps that Danielle Flanders showcased.  I have a few cards to send and thought it would be a great way to doll them up right!

Here is my envelope:
I used the double embossing technique that Julie Ebersol taught in the last Online Card Classes series: Clean and Simple 3. 
I LOVE This technique. In fact, I love it so much I practically double embossed my entire craft room! 

And wouldn't you know it, all the Papertrey Ink die cuts and embossing plates work perfectly for this. The idea actually started with the card I made first and then when I saw the Make It Monday challenge I knew it would be perfect to add an envelope wrap to it:
I used a Mat Stack 3 die cut with an embossing folder and then did a masking technique (also taught in Clean and Simple 3) with Botanical Silhouettes (anniversary set) to make my poppies frame and added a sentiment from Friends 'til the End. I repeated that for the envelope wrap choosing to wrap it around the right side and add a "Happy Mail" sentiment (from Happy Hexagons) along the top. I used a line stamp to create a place to write the address. Maybe a bit too many lines, in hind sight. Who has a 9 line address!??


Here's a close up of a card that's going into the mail for a sweet friend who will be moving soon. Oh how I will miss her...


That's all for today. thanks for stopping by!

k


May 7, 2014

Feeling Tickled

Hey There. Just making some pop up die cut cards this week! I love Mama Elephant. I finally got my order since it had to go to my mom in the states and then my sister in law and then on to me. I'm so grateful they sent it! It's been fun ever since. Thank you!

Here's my card...

I used the Memento Luxe inks again. I really can't get enough of them. I highly highly recommend them. I started by placing my sentiment on the card base first so I knew where I wanted my feathers to fall. I knew I wanted them to fall diagonally across the card so I placed the first one around the corner of the sentiment and then worked my way up with each colour filling in the "feather rain" as I changed colours. I die cut 4 of the feathers and popped them up after stamping.

I am feeling very tickled about how it turned out! I am trying hard at being more precise in my stamping and my colour choices. It definitely takes longer to make a card, but the results are worth it! In fact, its going to help me in all aspects of my life. After almost 10 years of what I like to call "baby brain" I am re-learning to take my time and really concentrate. It's a stretch after having my attention span deteriorate through the years. I'm really hoping it comes back in full force. Although its still crazy to create through lego wars, homework, train building and iPad fights. Sheesh... no wonder it takes me so long to do a card ; )

thanks for stopping by today!
love to you and yours,
k


 photo copyright.jpg
envye template.